How to Install the Auxiliary Leaf Spring Under the Iveco Daily's Main Leaf Spring Pack
Disclaimer: Safety First
This guide describes how I personally installed the auxiliary leaf spring under the original leaf spring pack of my Iveco Daily. I assume no responsibility for any problems or damages resulting from anyone attempting to replicate this procedure. This is simply a shared alternative modification performed on my personal vehicle.
Why Install the Auxiliary Leaf Spring Below?
My original leaf springs were quite flat, making the Daily's 'rear end' sit a bit too low. I wanted a simple way not only to raise it, but also to stiffen the rear.
After much research, I noticed that all commercial kits are designed for top mounting (classic), where the auxiliary spring only engages under heavy load and the vehicle's height doesn't change.
The alternative of bottom mounting, ideal for vehicles always fully loaded (like campers), ensures the auxiliary spring is always under tension, constantly supporting the axle and, crucially, increasing the vehicle's height.
The auxiliary leaf spring kit can be installed below, provided you make some modifications and have a good amount of manual skill and the right tools.
Important Warning: Vehicle Lifting
The hardest part is lifting the van while ensuring maximum safety. Working underneath such a heavy vehicle, lifted off the ground, is extremely dangerous. Be careful, use sturdy jack stands, and don't rely only on the jack.
Phase 1: Modification and Preparation of the Brackets
We need to modify the auxiliary spring supports to insert them into the space between the main leaf spring pack and the auxiliary spring.
- Cutting the Supports: I cut the side 'wings' to make the bracket flush.
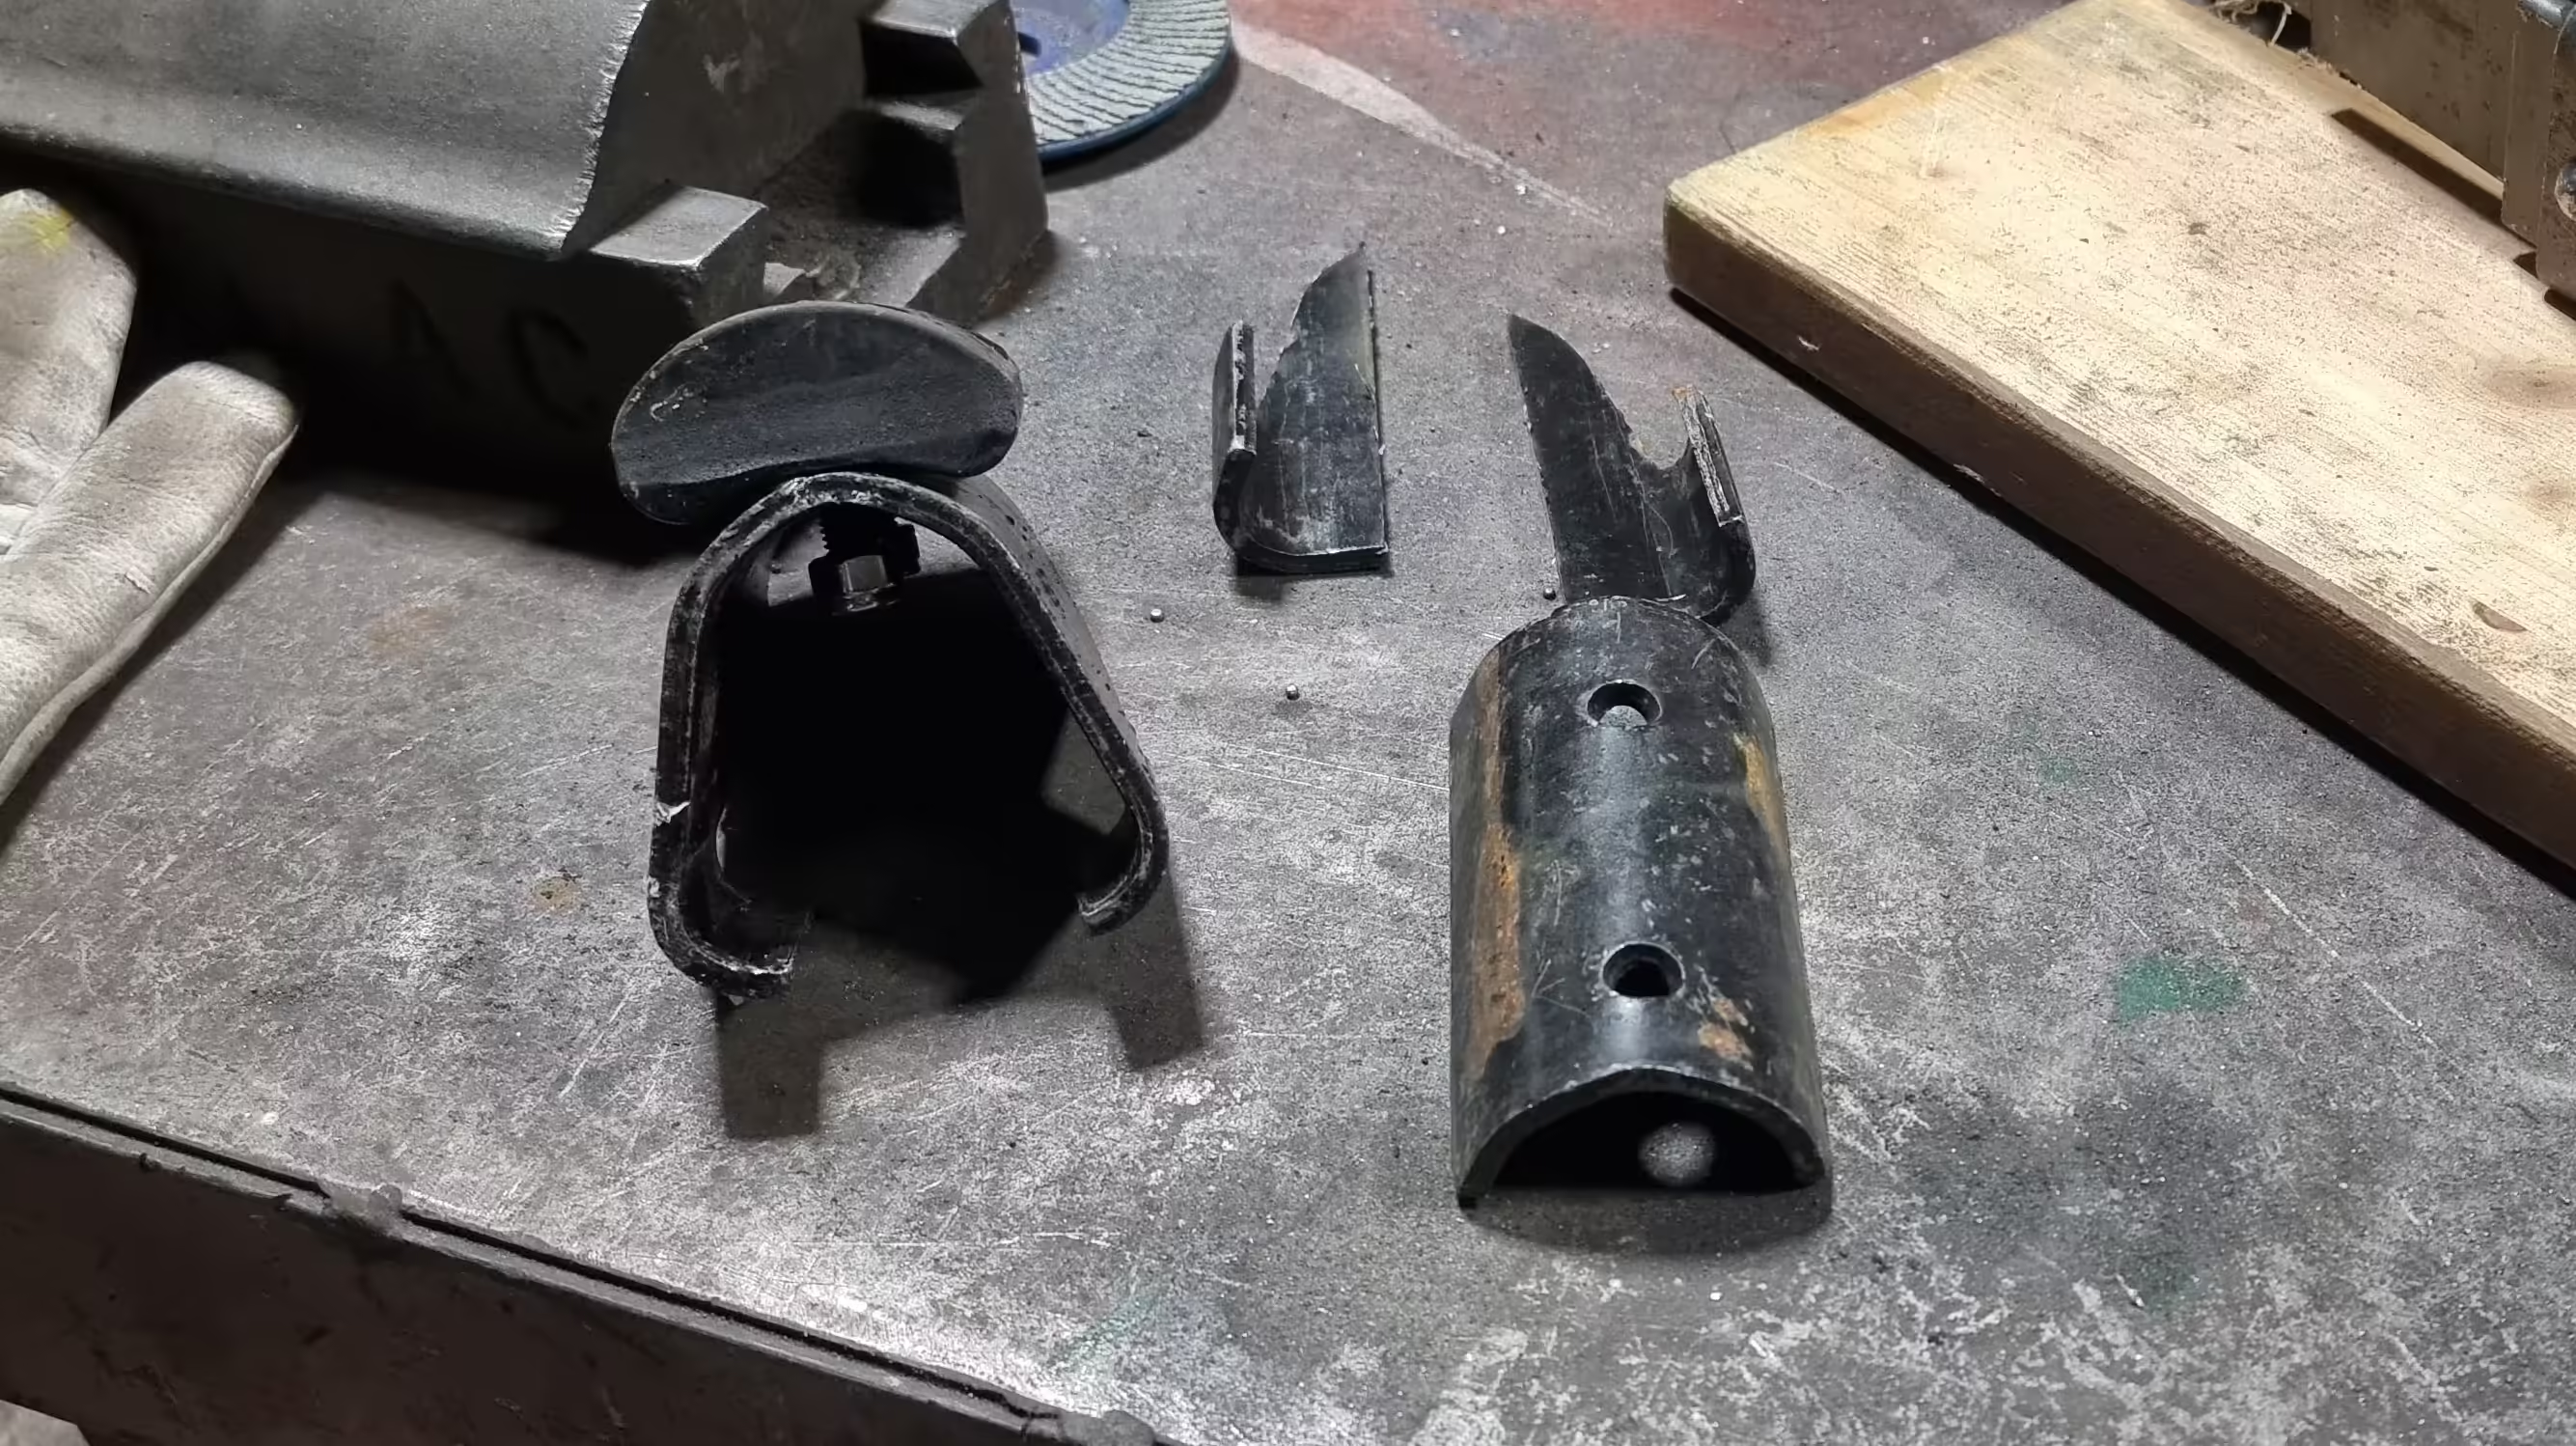 Image 1
 - Shortening the Bracket: I shortened the bracket to center the two holes with its length.
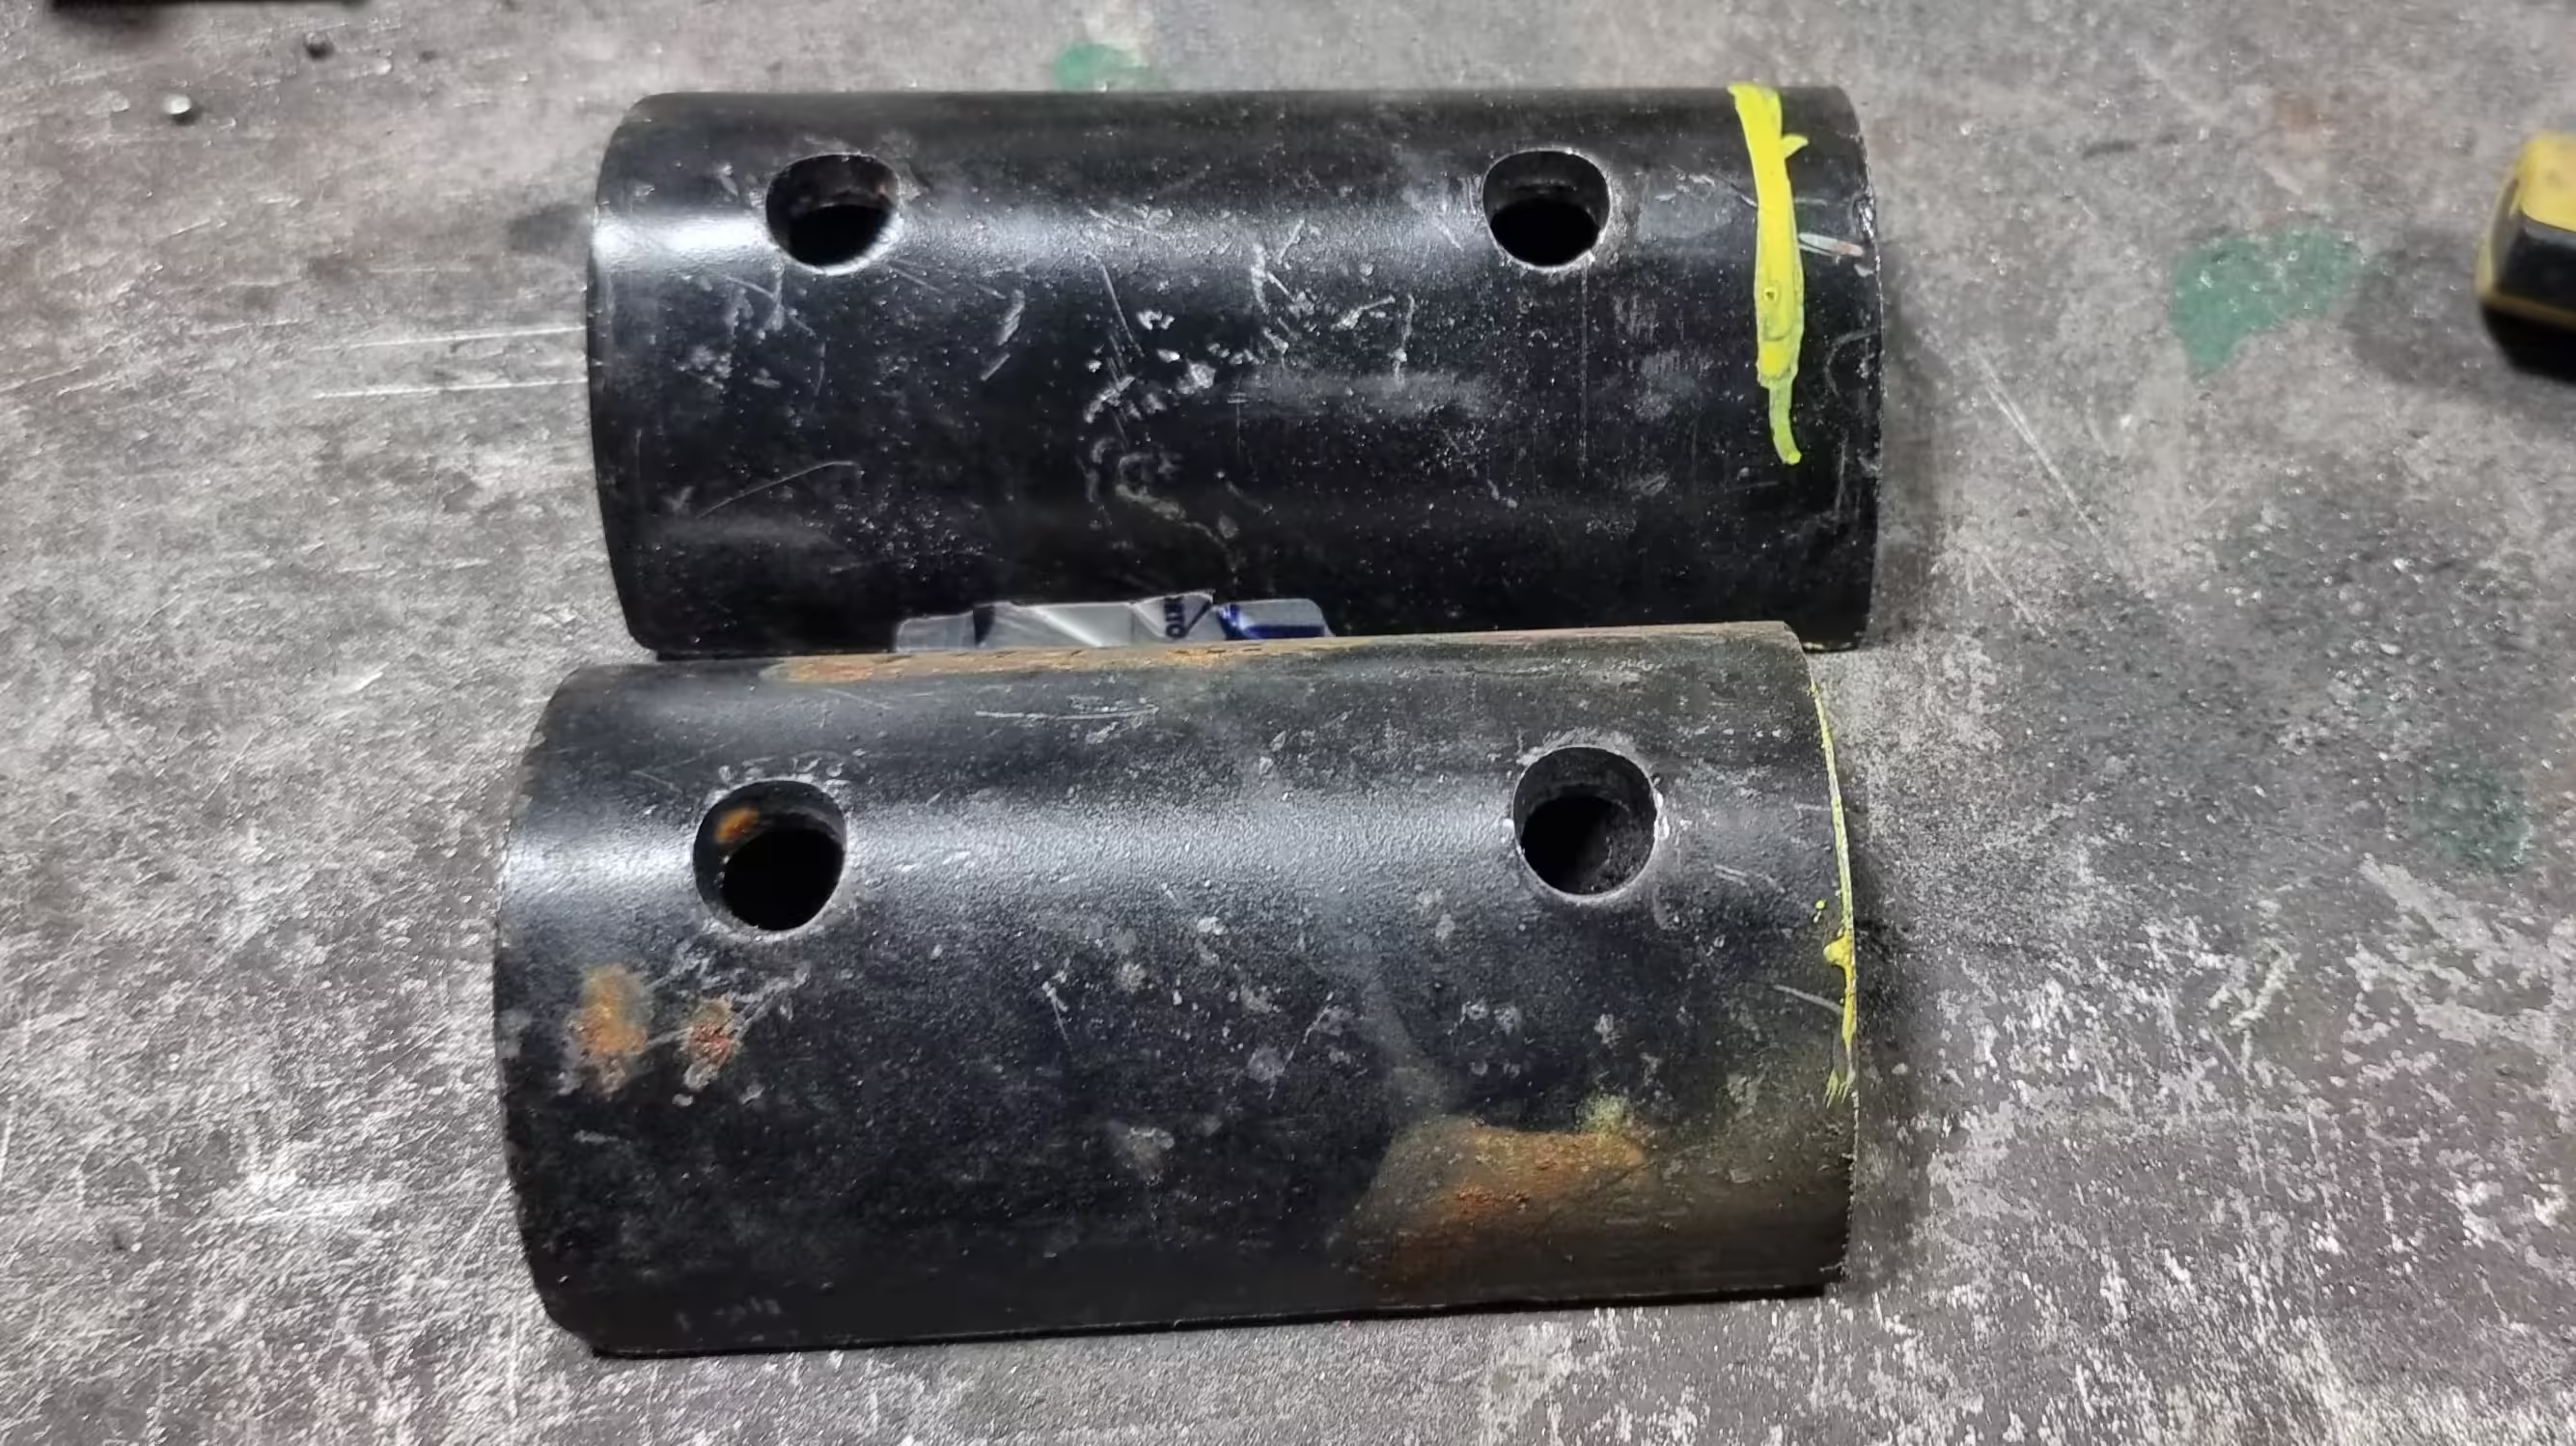 Image 2
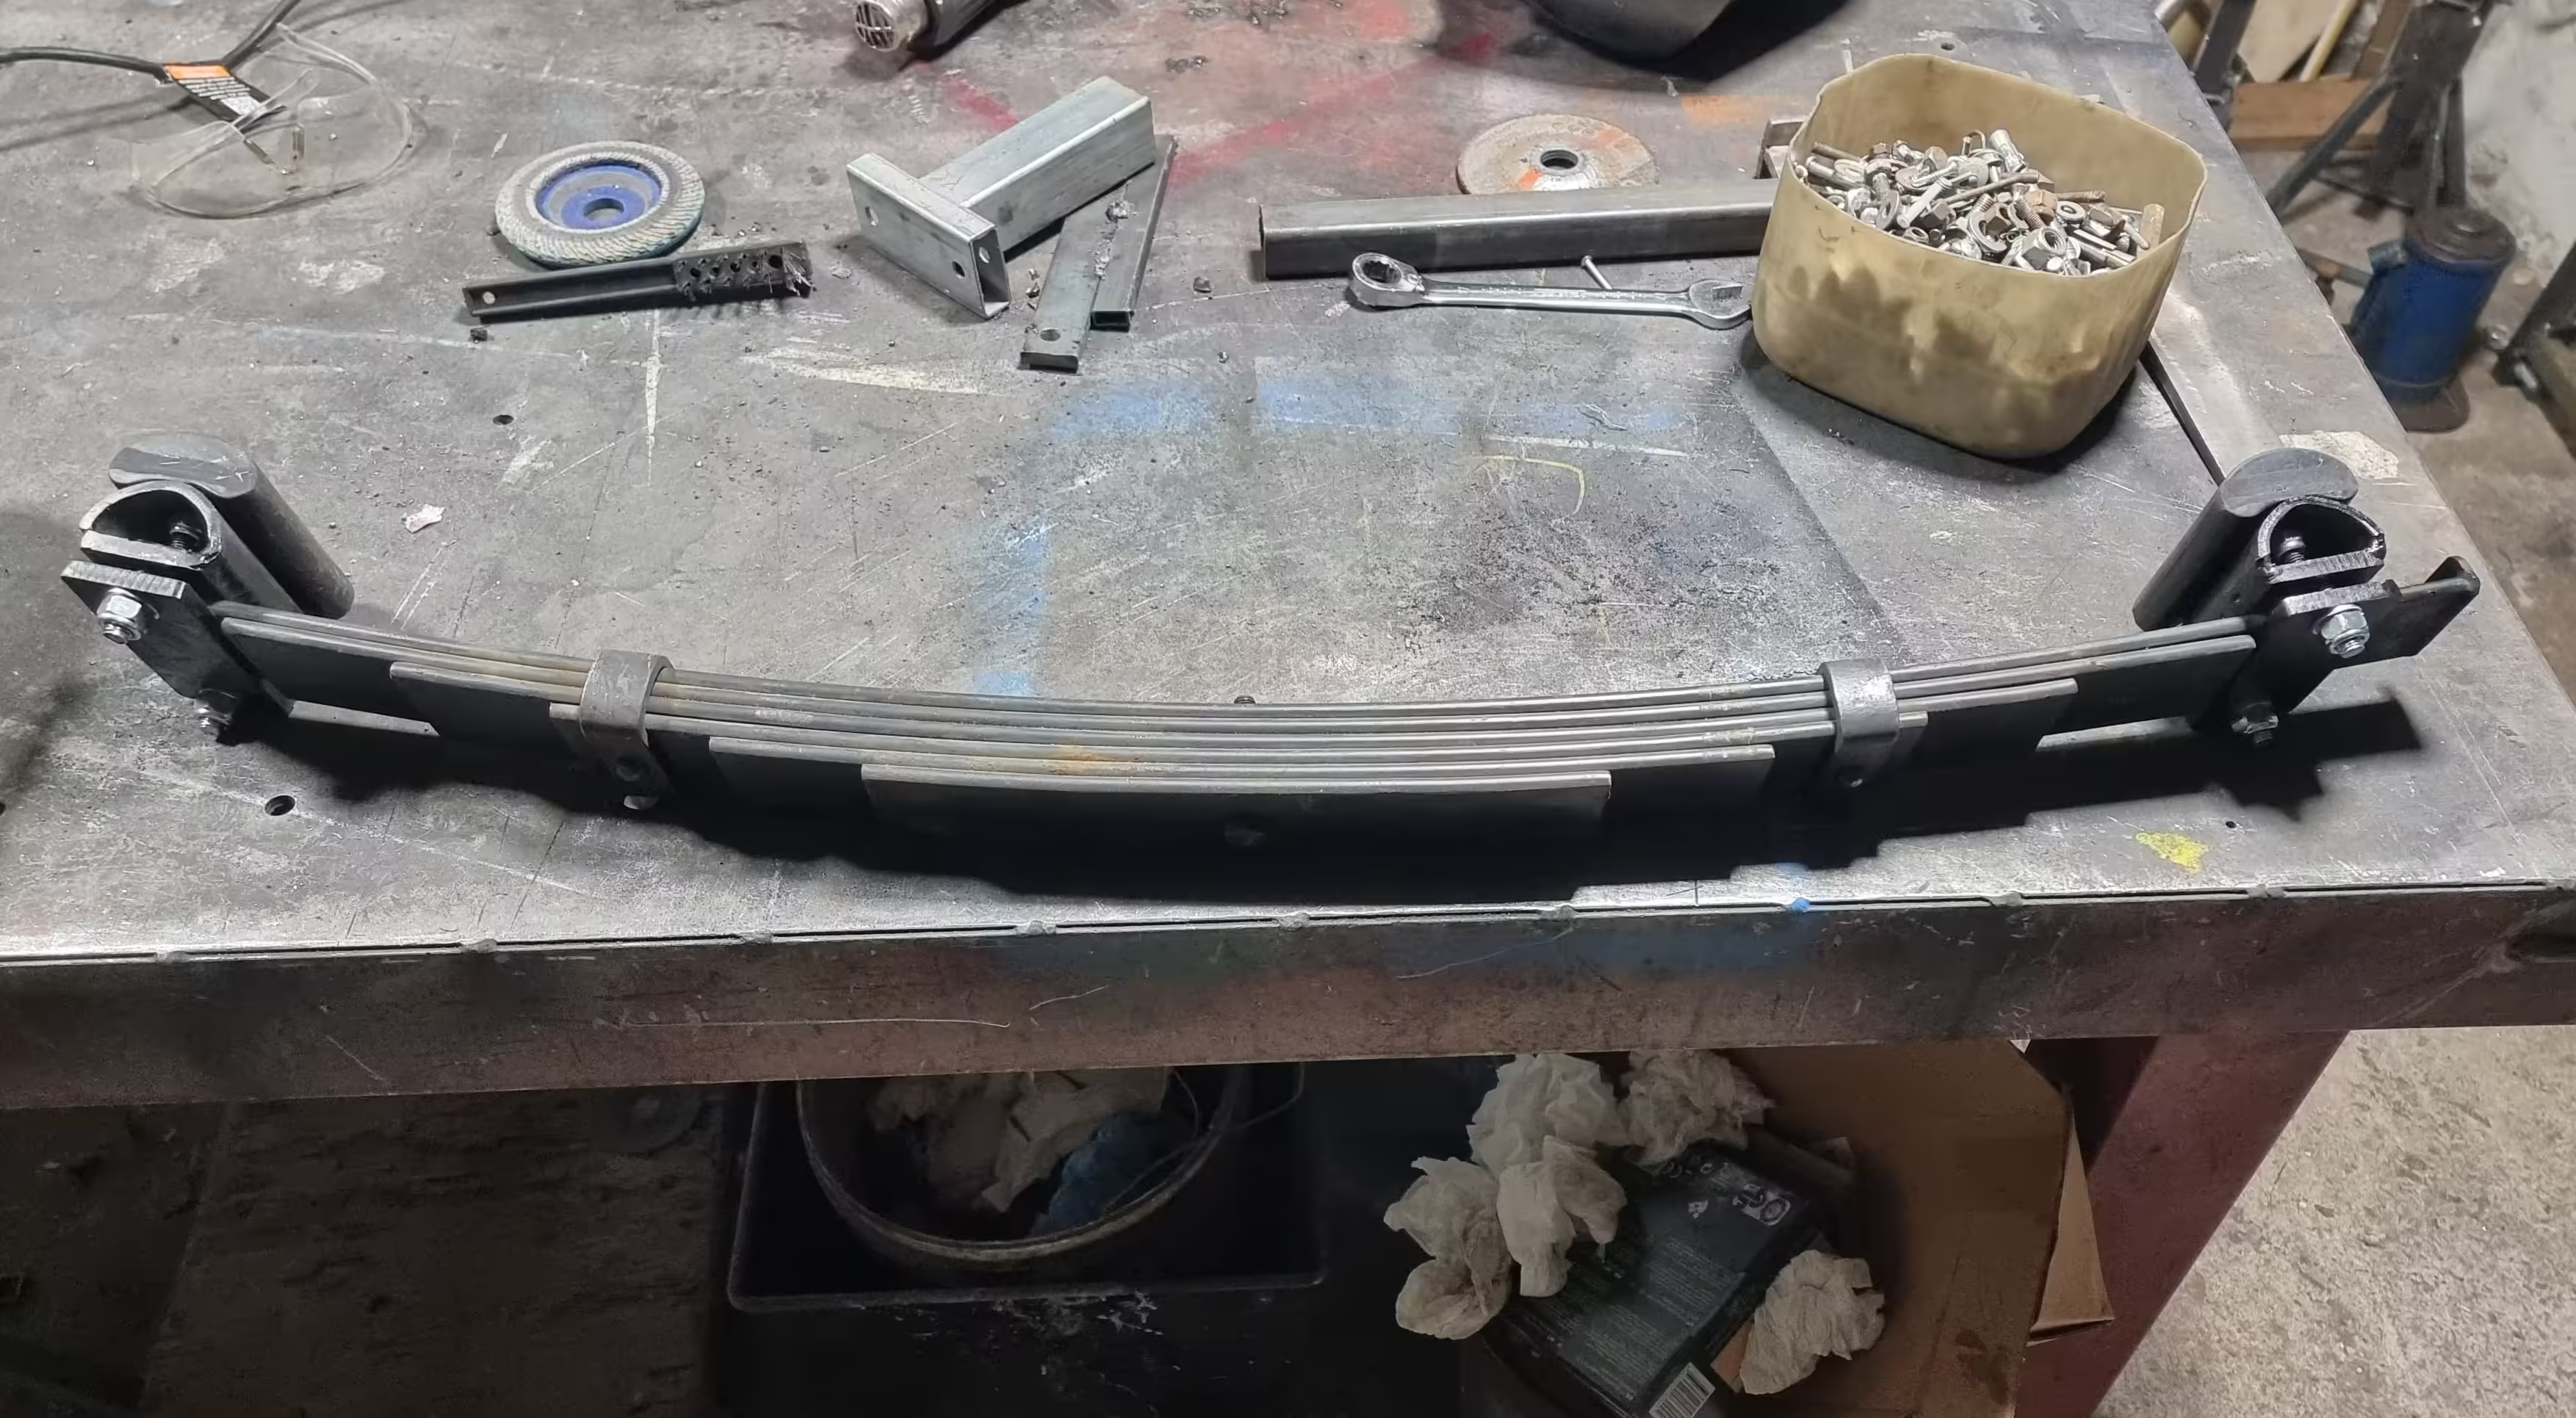
 - Creating the Base and Counter-Plate: I created a base with two holes at the ends, which will serve as a fastening element on the auxiliary spring.
To create the threaded elements that hold the counter-plate in place, I used two countersunk head screws. I countersank the holes in the base so that the screw heads were perfectly flush.
Subsequently, I welded the screw heads to the base itself. This creates two robust studs, essential for clamping the brackets with the counter-plate.
Always ensure you use self-locking nuts to guarantee the fixation holds.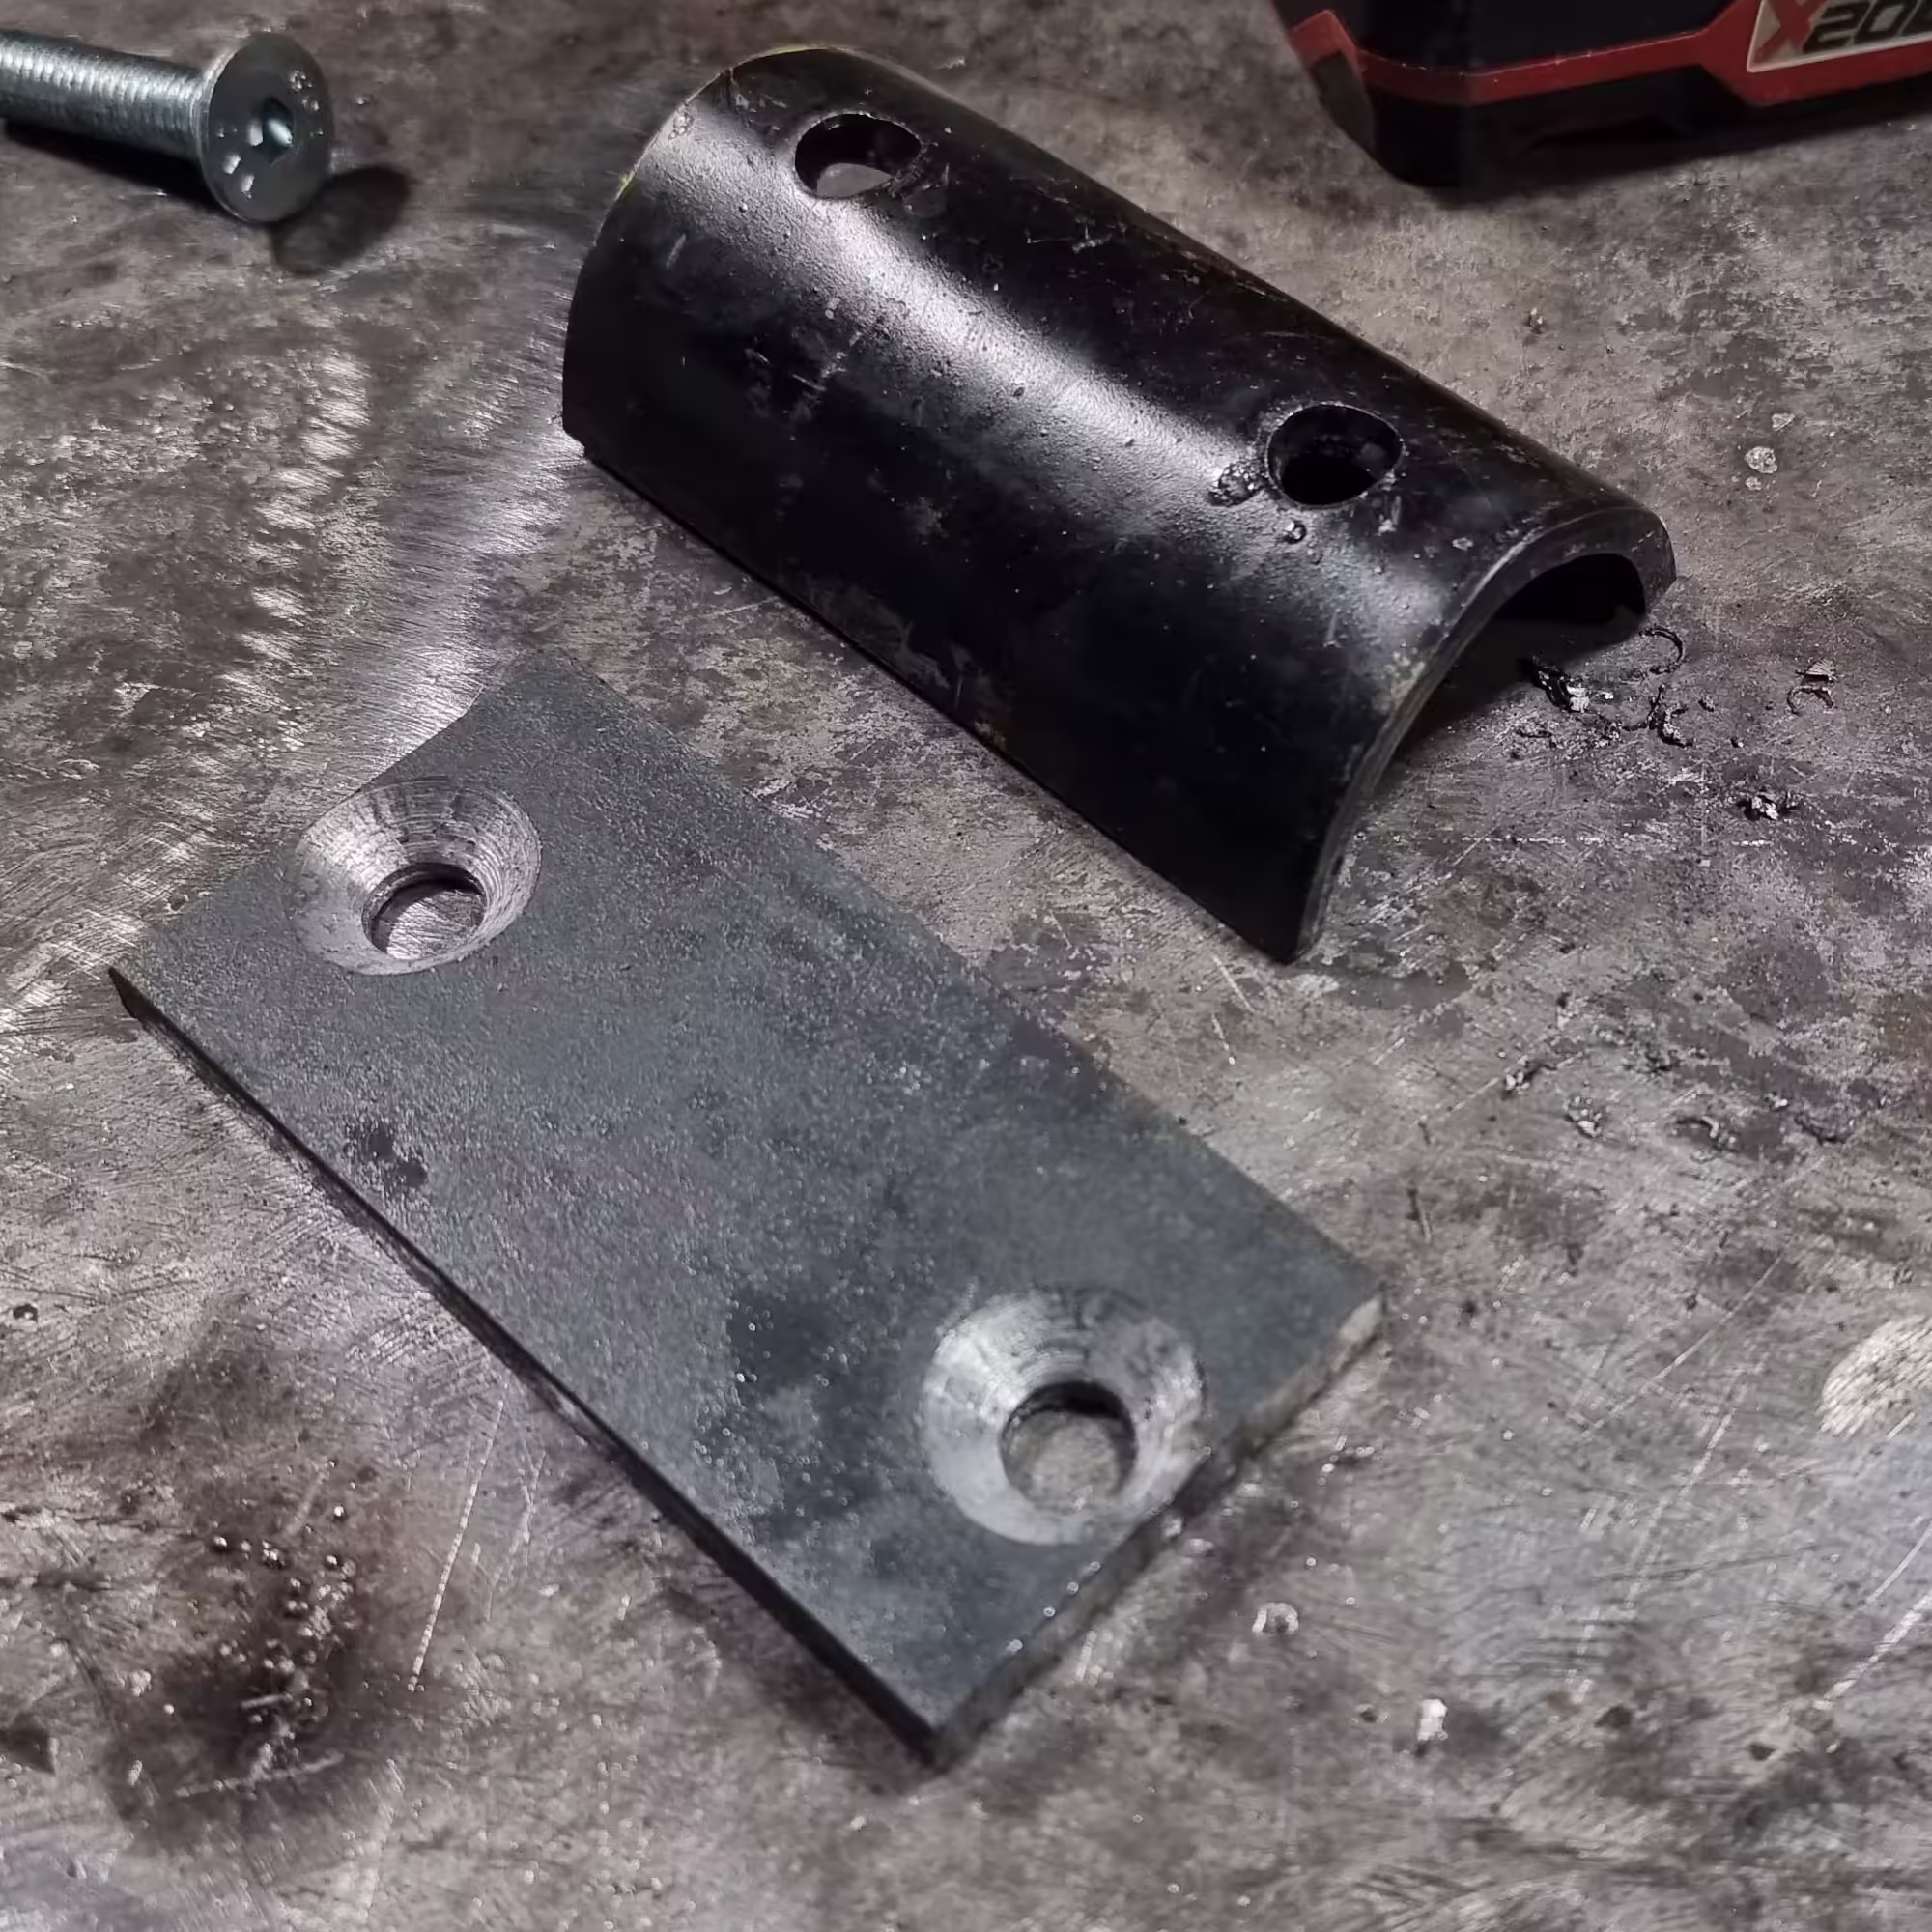 Image 3
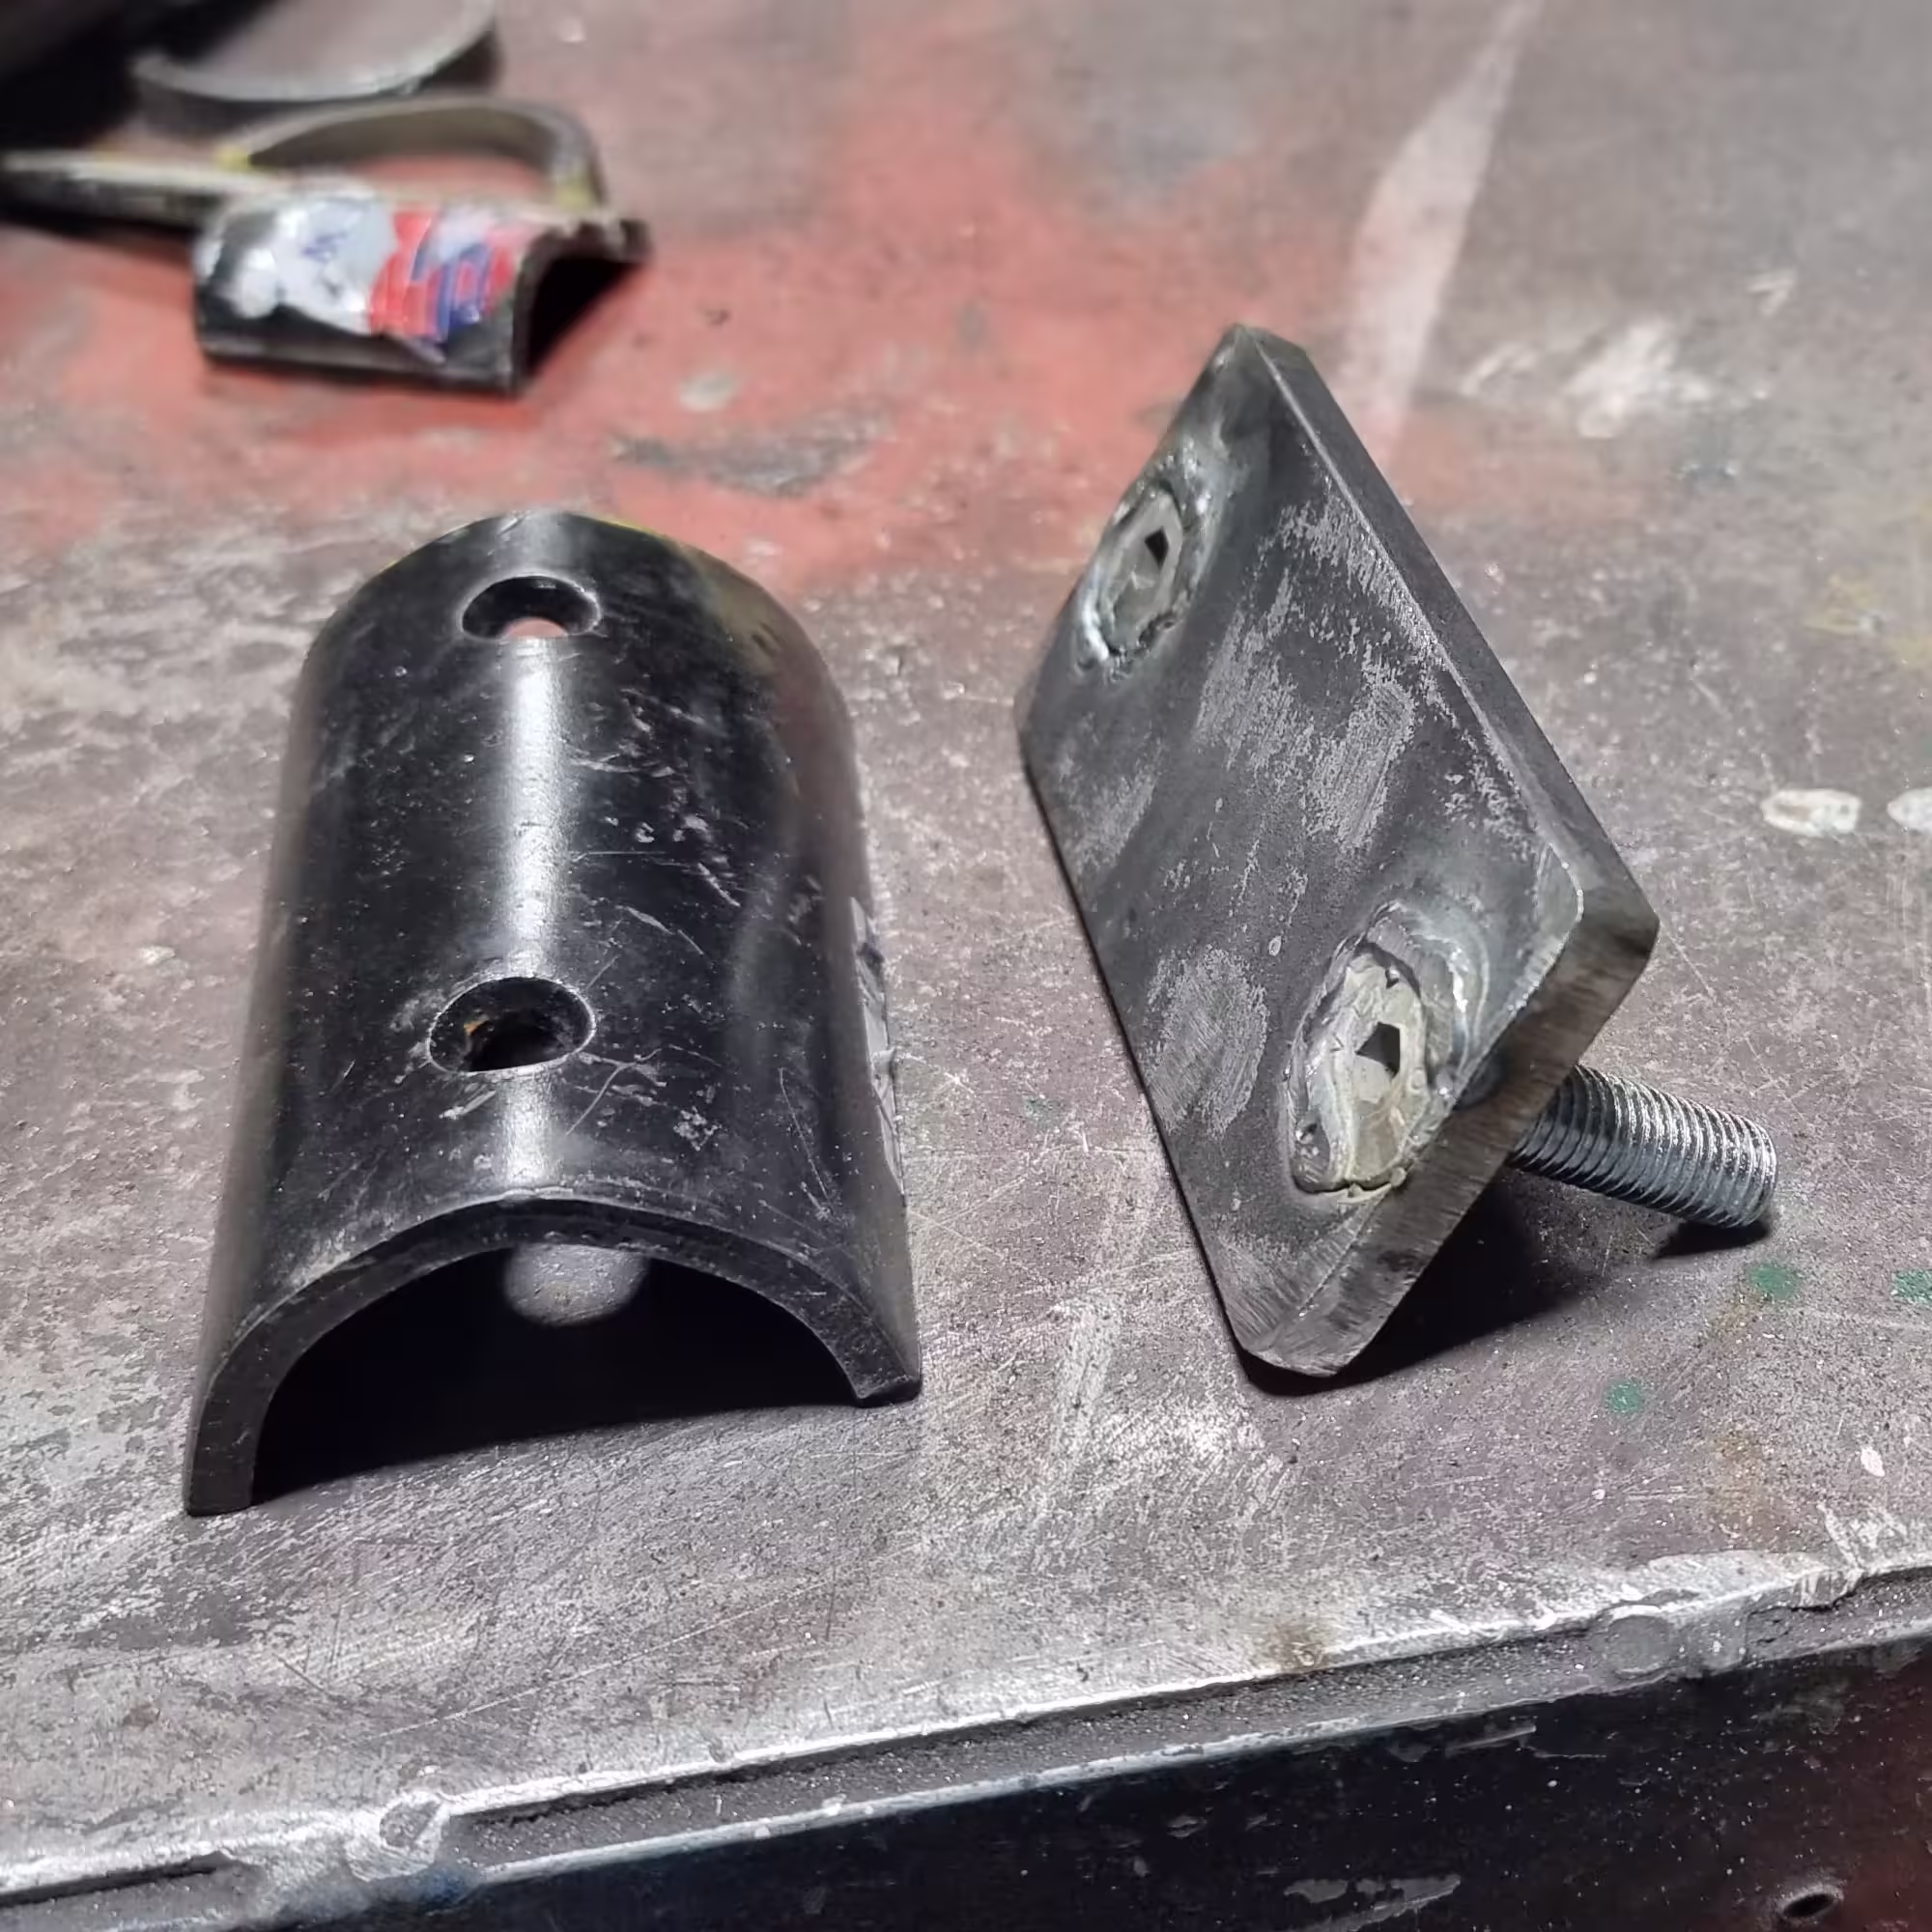 Image 4
 Image 5
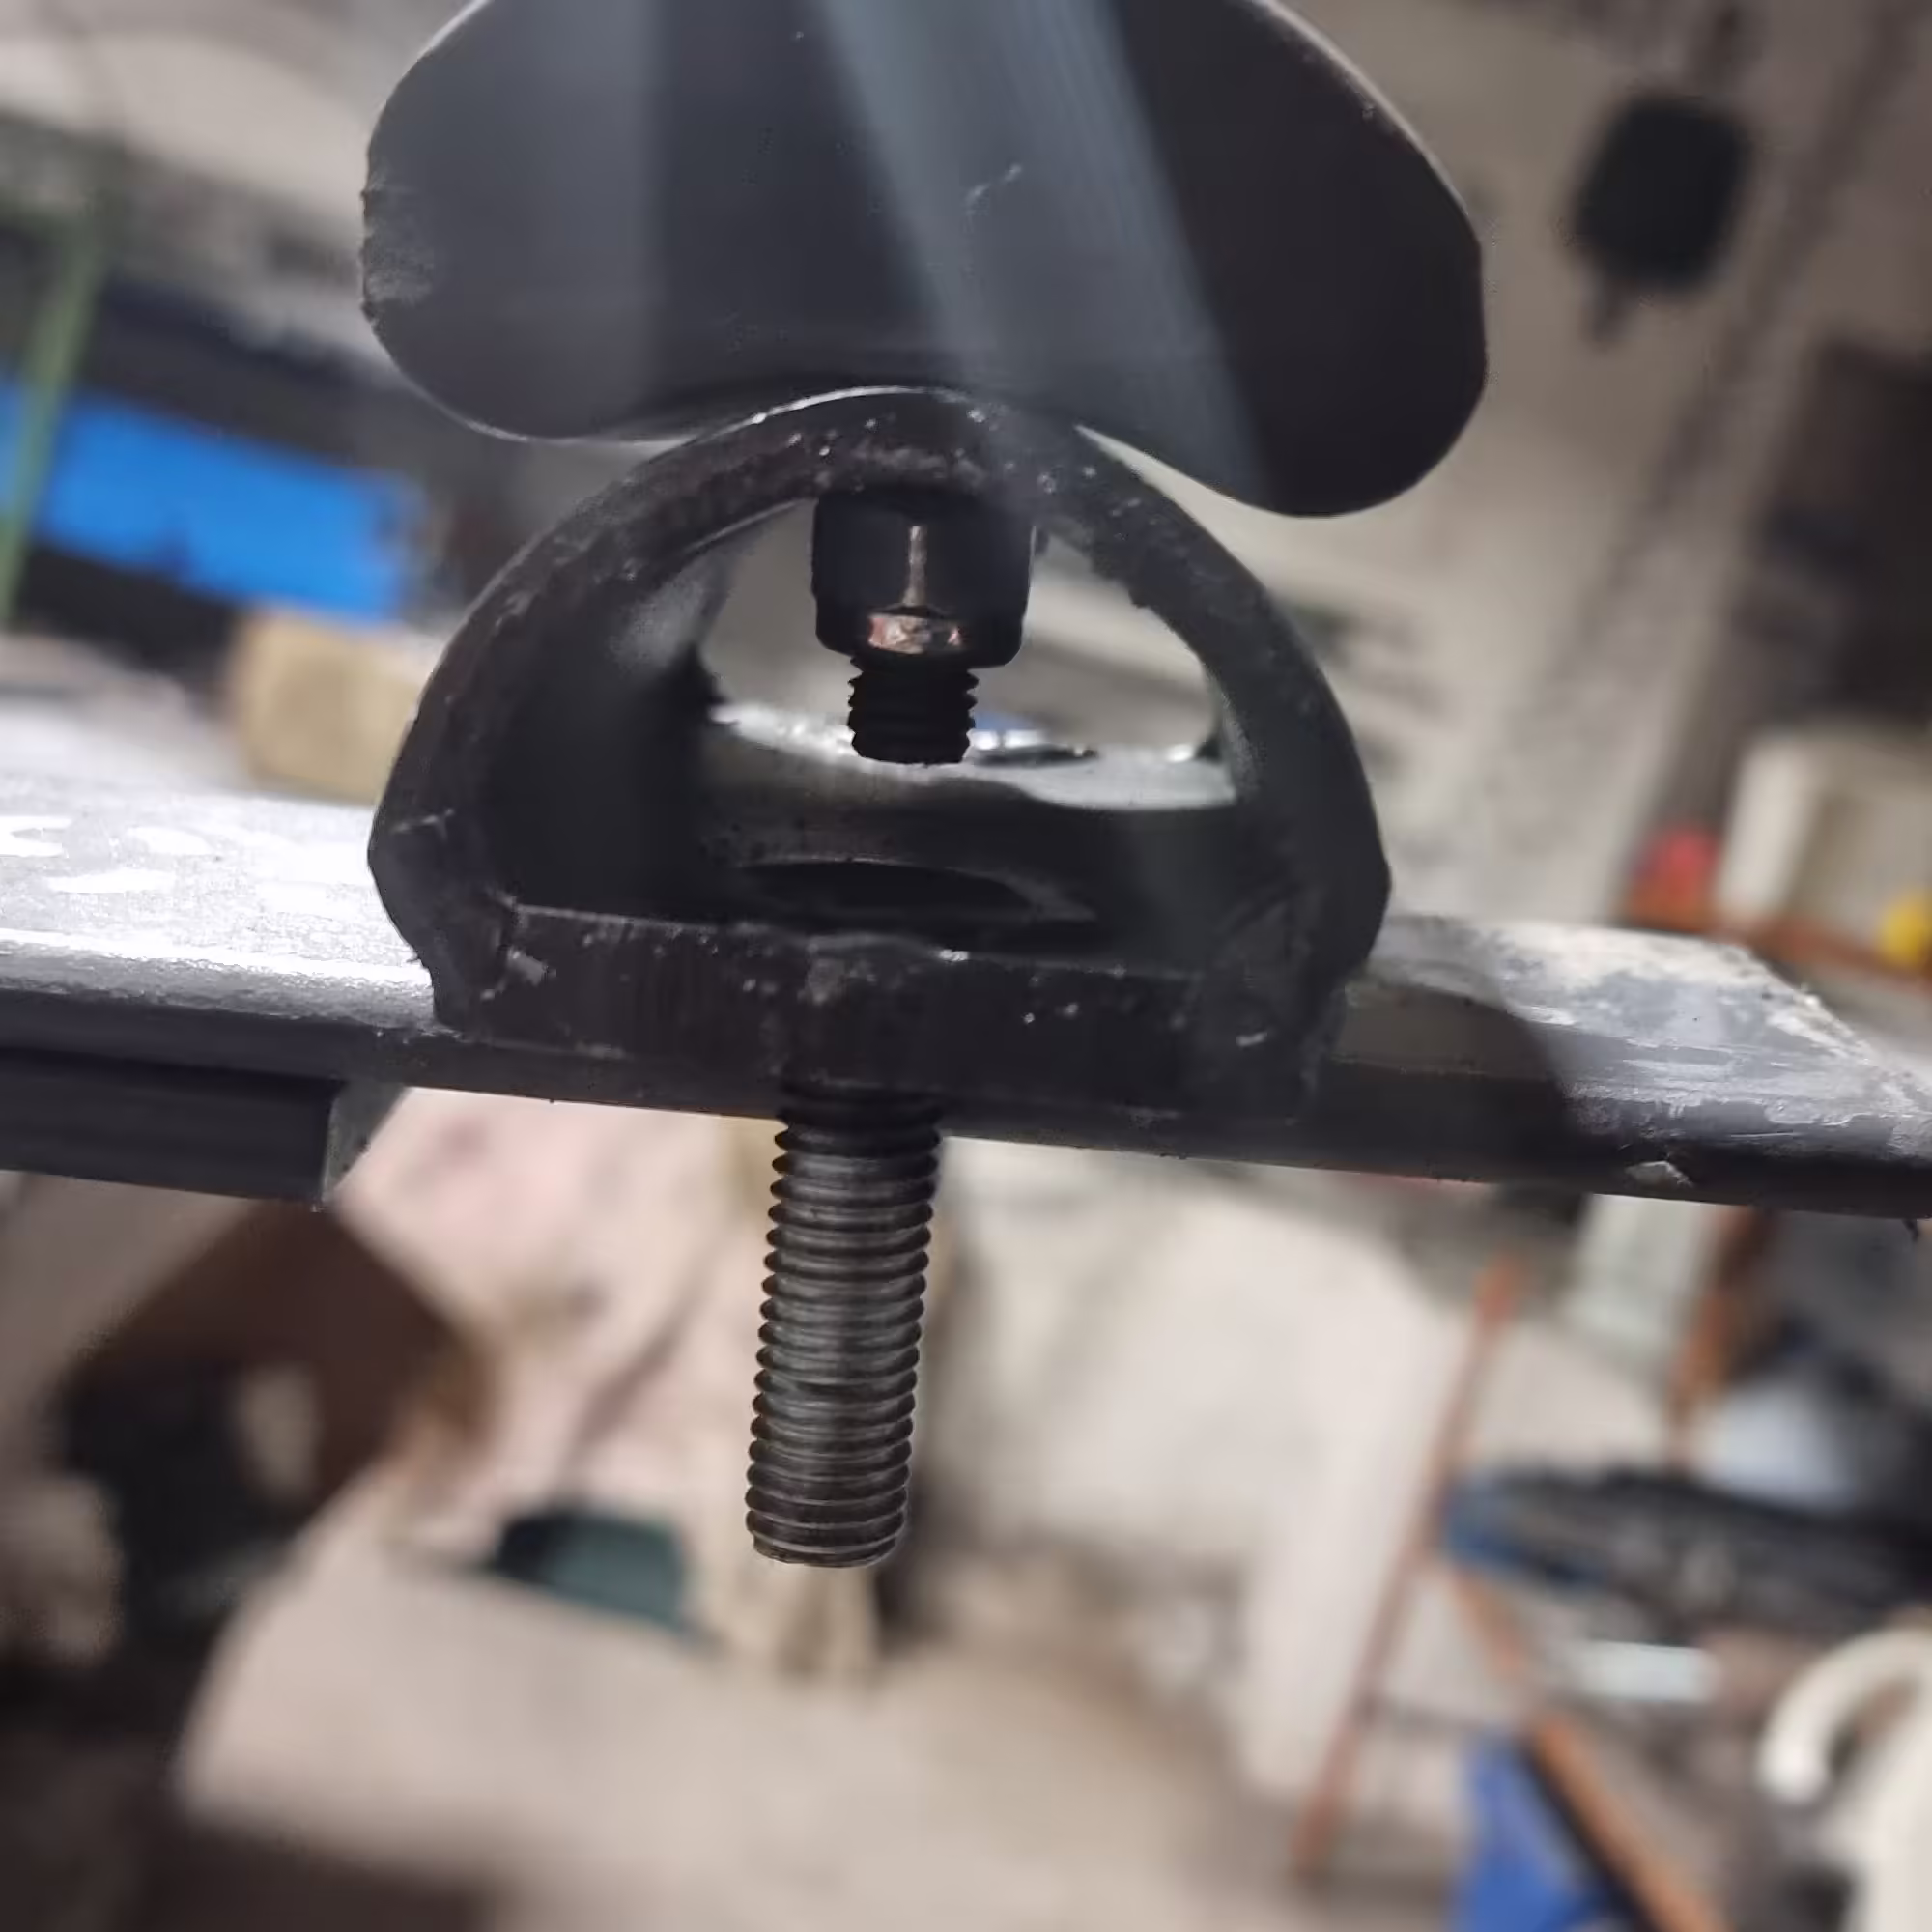 Image 6
 - Adding a Safety Stop: I welded an iron stop at the end of the leaf spring to prevent the bracket from falling, should it ever move from the position where it will be fixed.
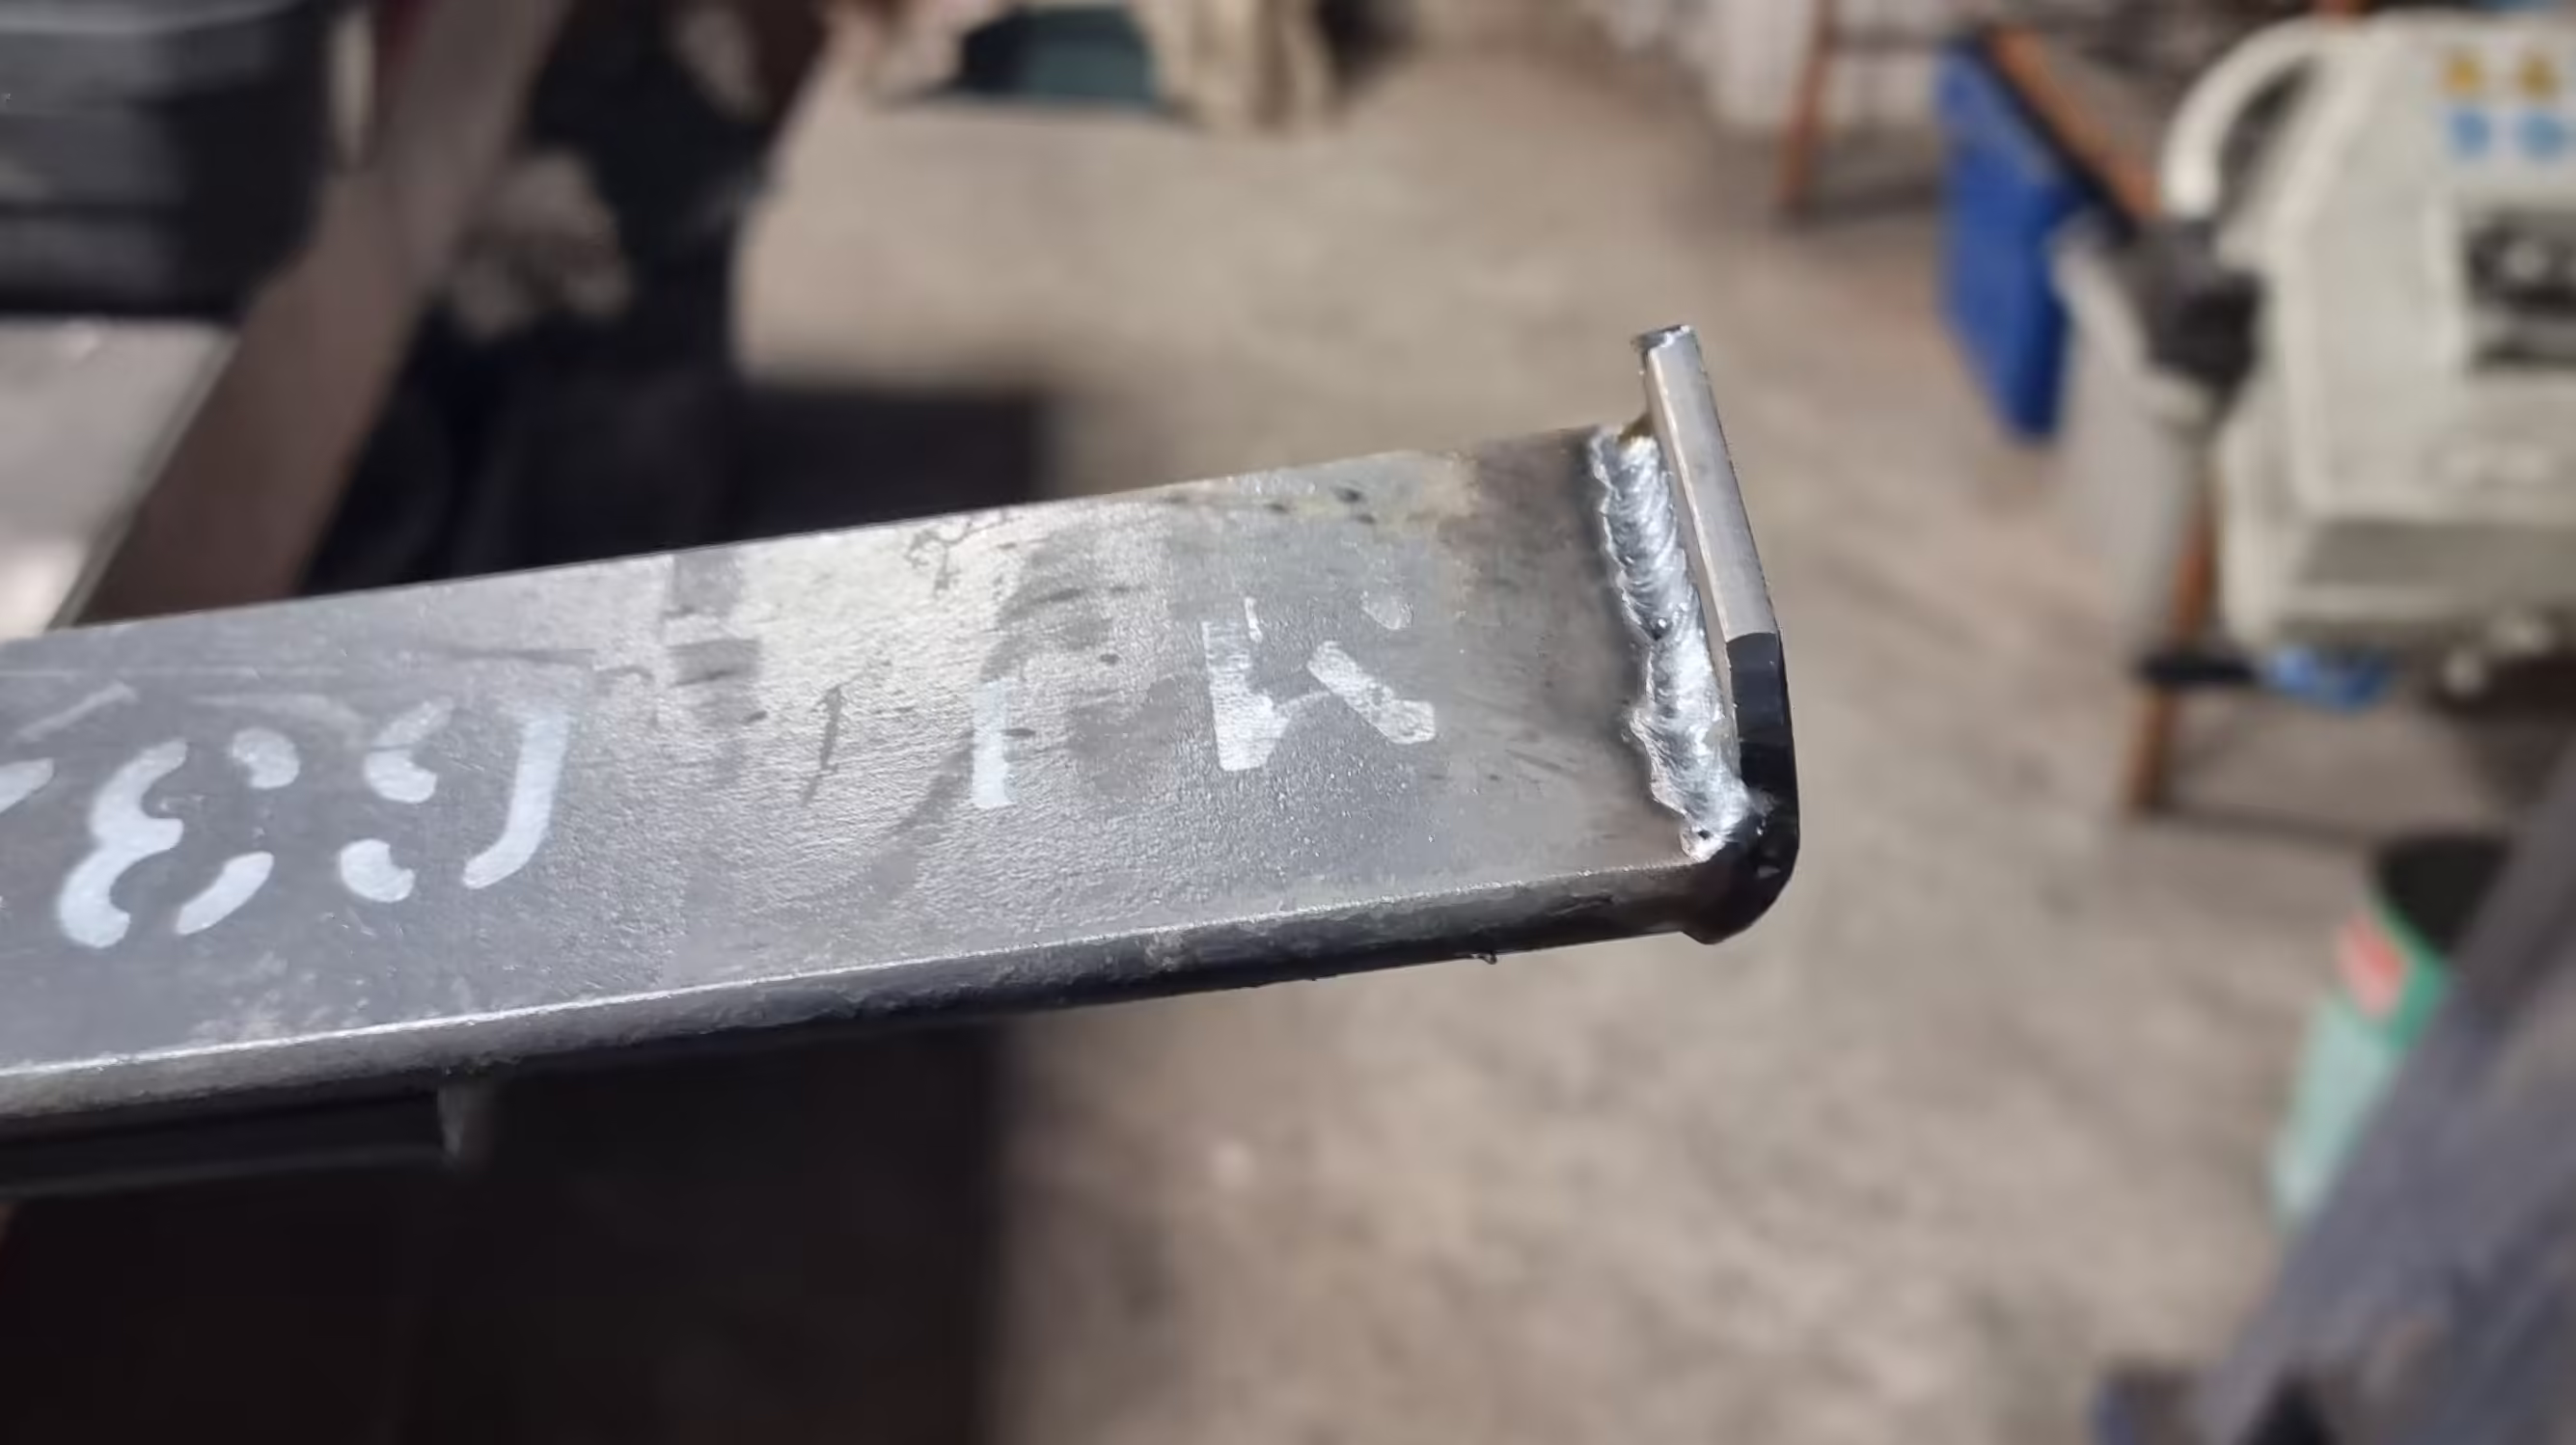 Image 7
Once the modifications are complete for all brackets, perform a test fitting for verification.
Phase 2: Installing the Auxiliary Leaf Spring and Raising the Vehicle
- Preparation: Loosen the nuts on the rear wheels.
- Lifting (Maximum Caution!):
- Use a trolley jack under the differential to lift the axle.
- Position and raise the sturdy jack stands under the axle connecting the chassis rails.
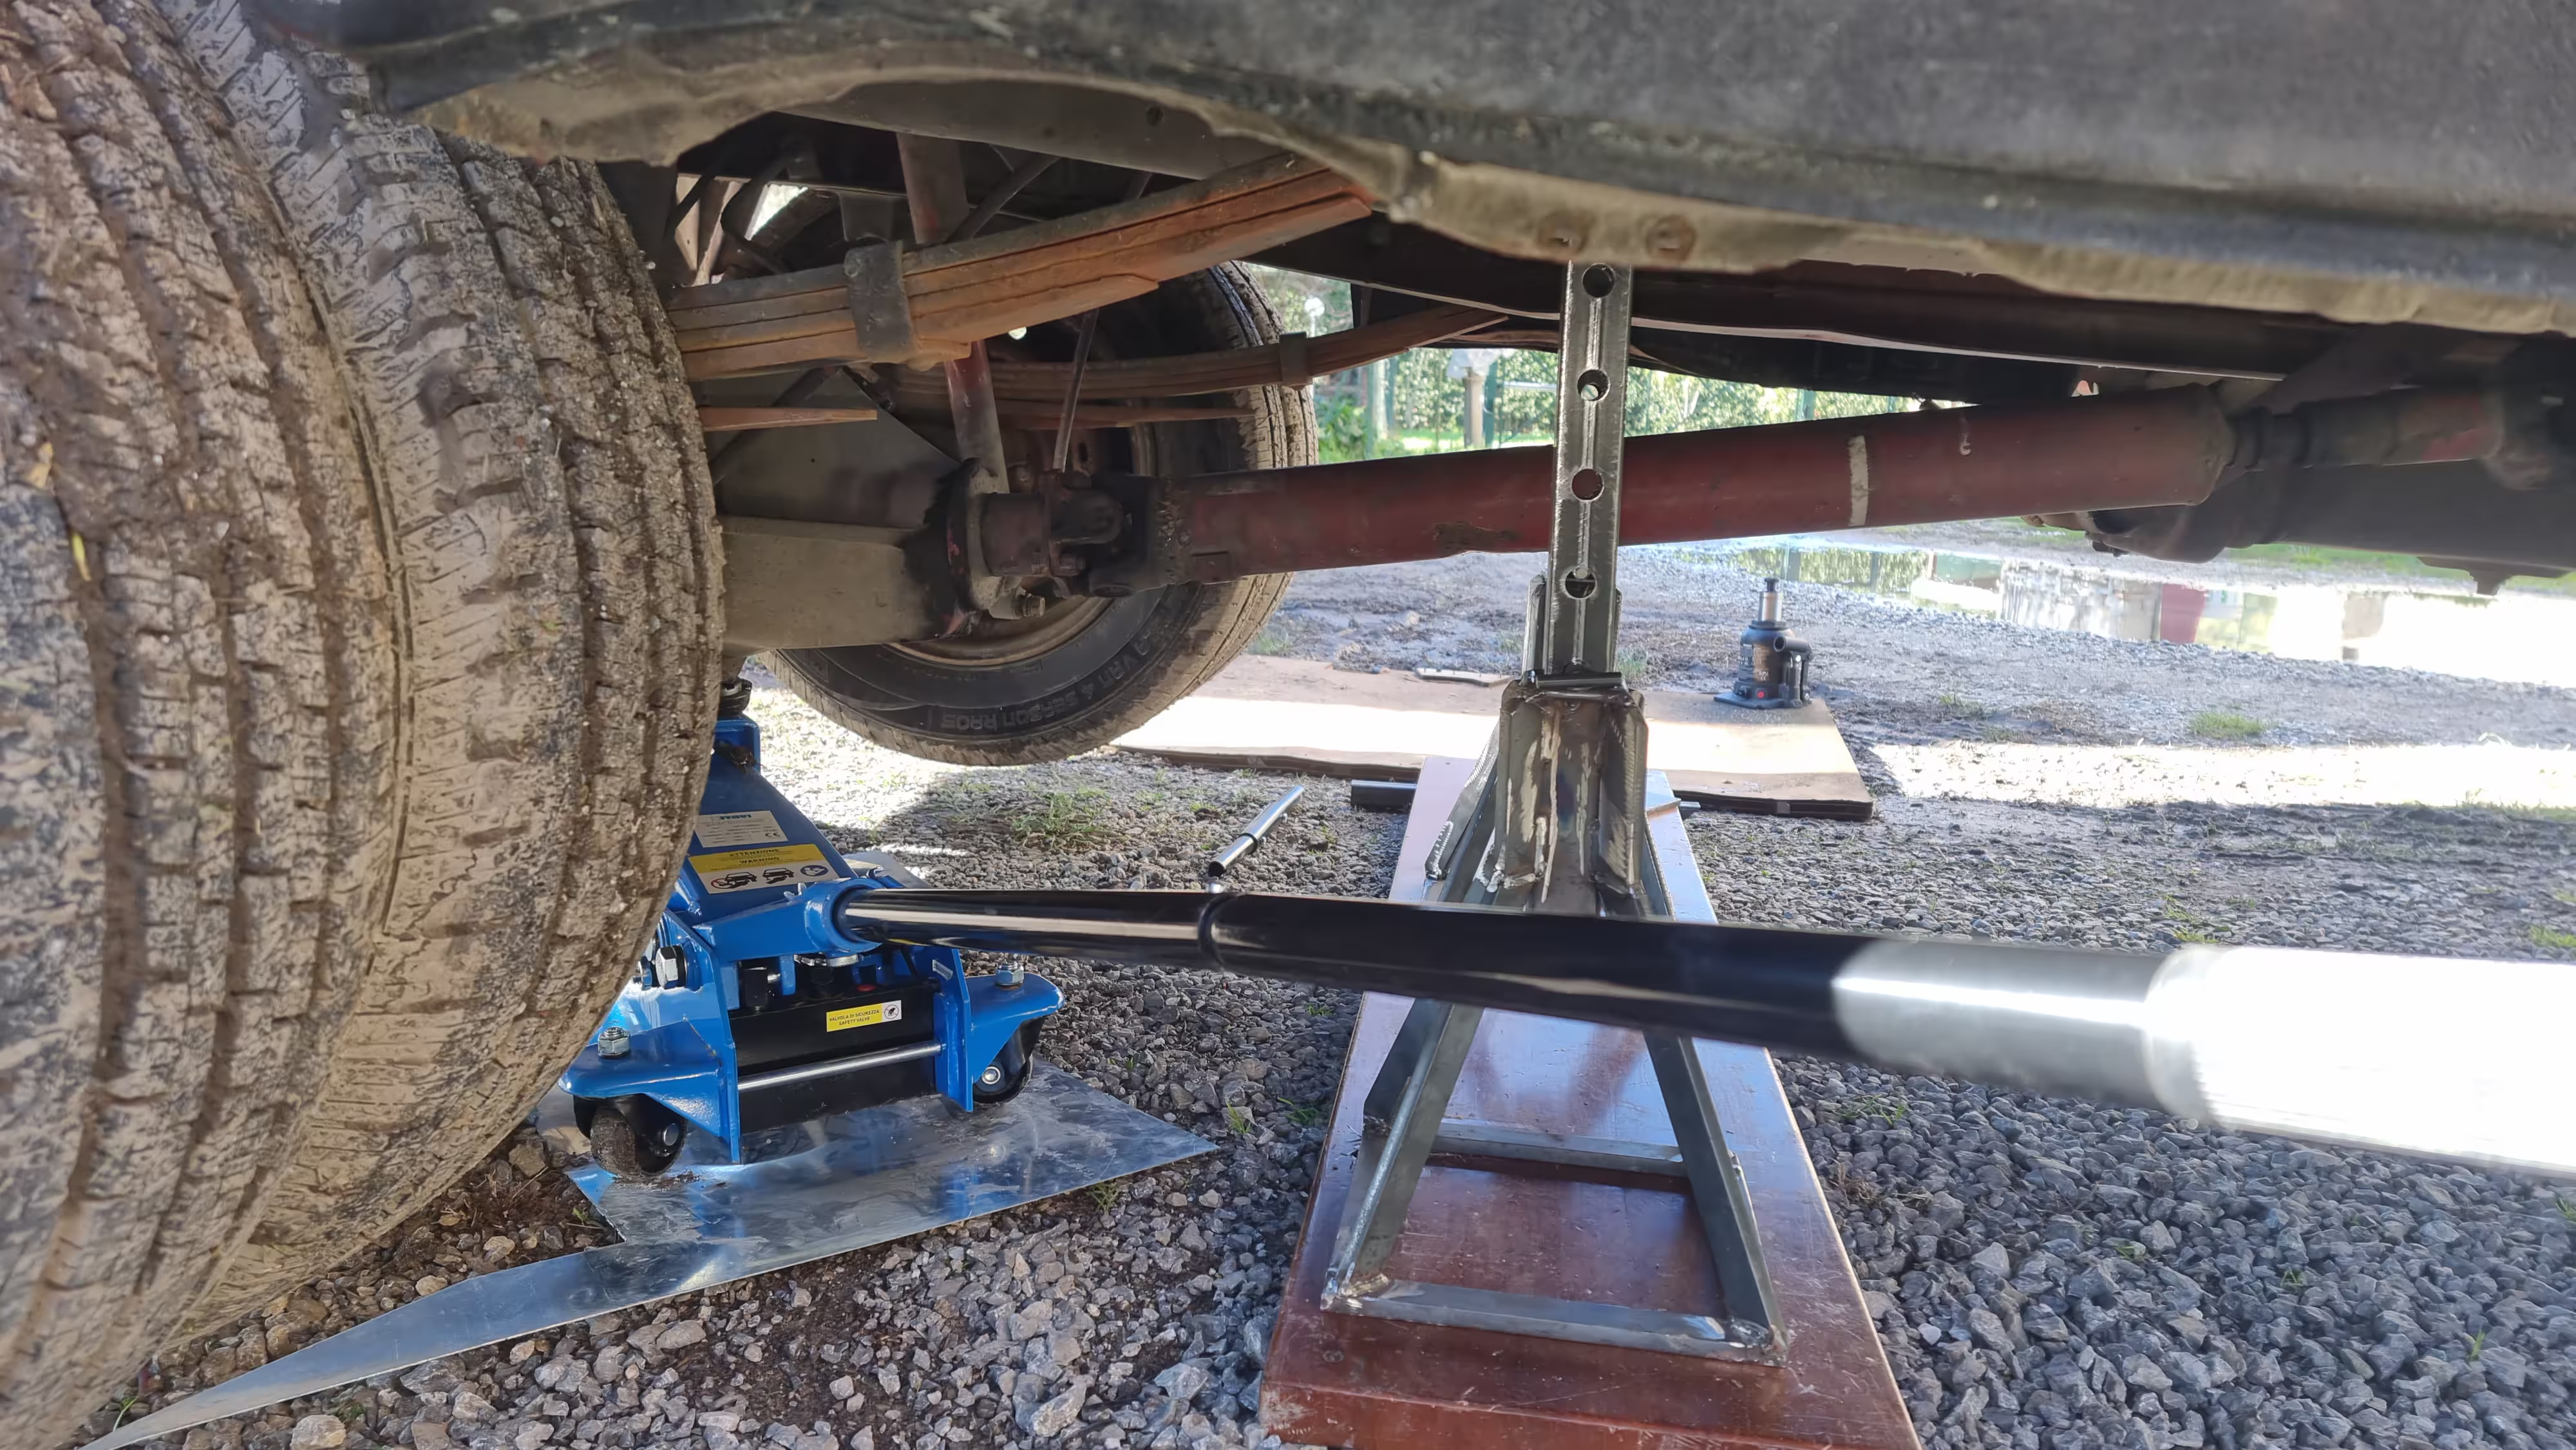 Image 9
 - Working Side by Side: You must work on one side at a time. Remove the wheels on that side and place them under the vehicle for safety.
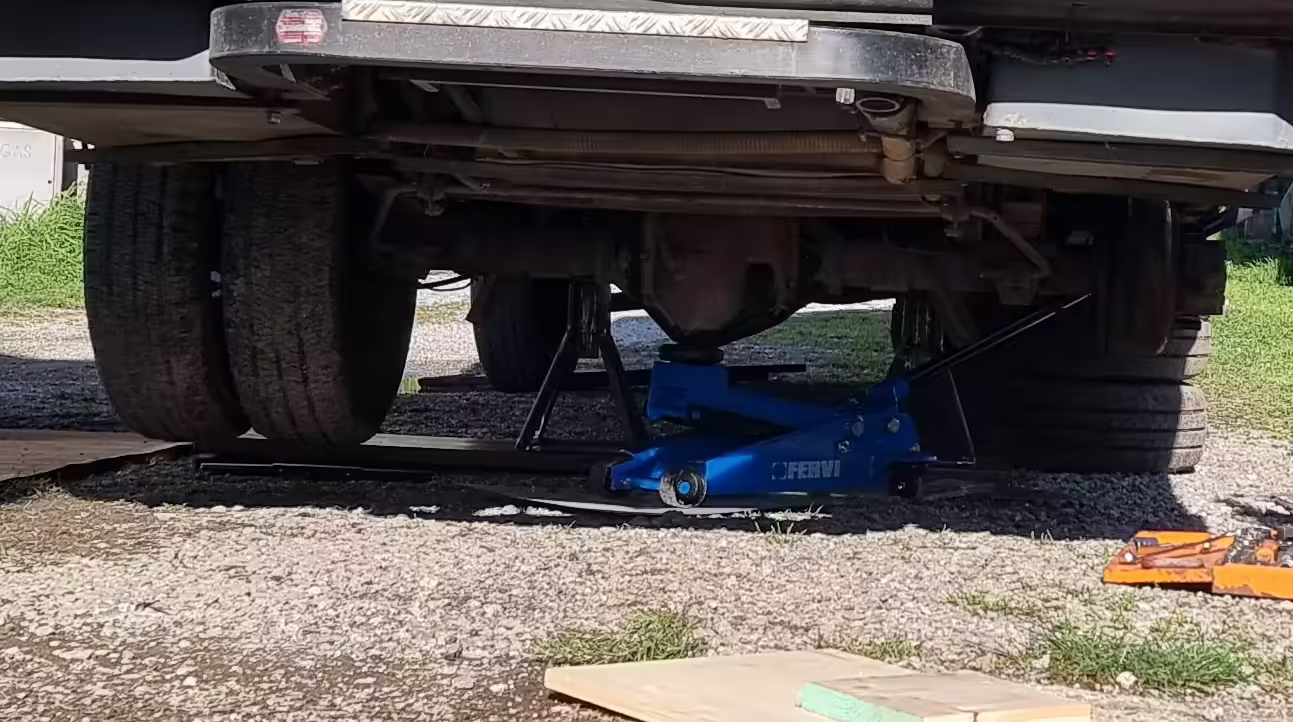 Image 10
 - Replacing the U-bolts: Replace the old U-bolts with the new, longer ones. Remove and replace them one by one to maintain stability.
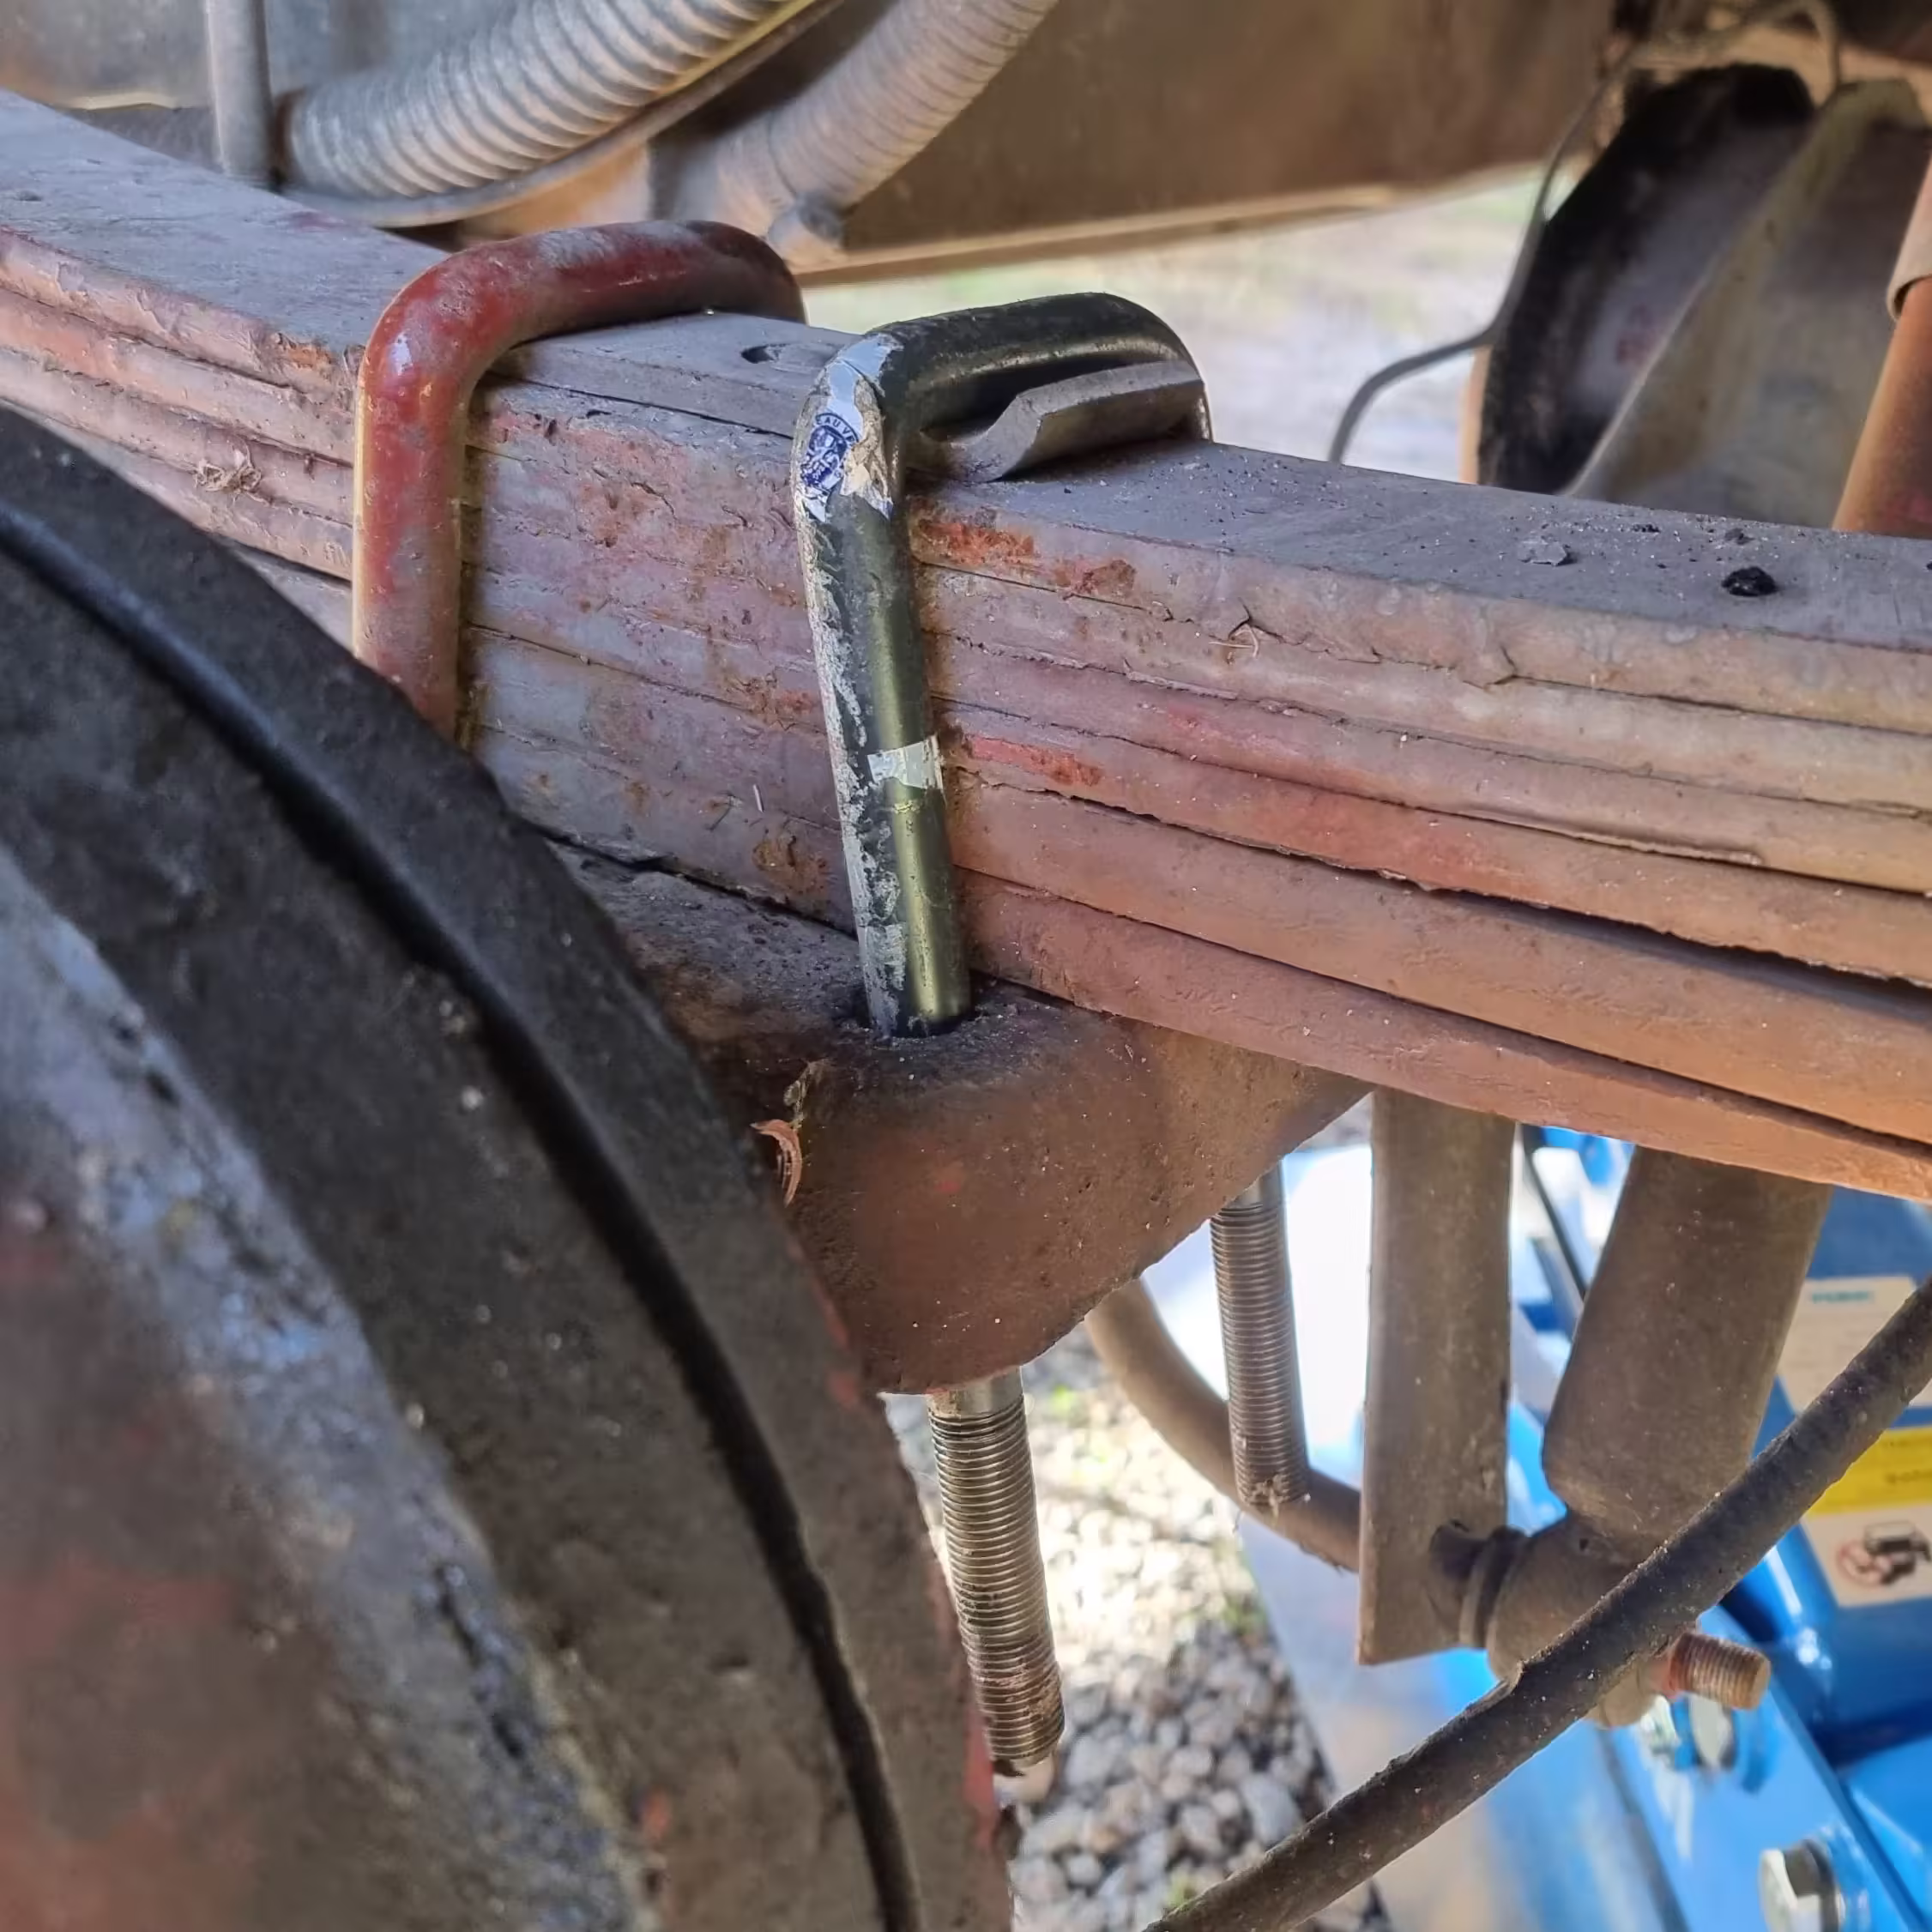 Image 11
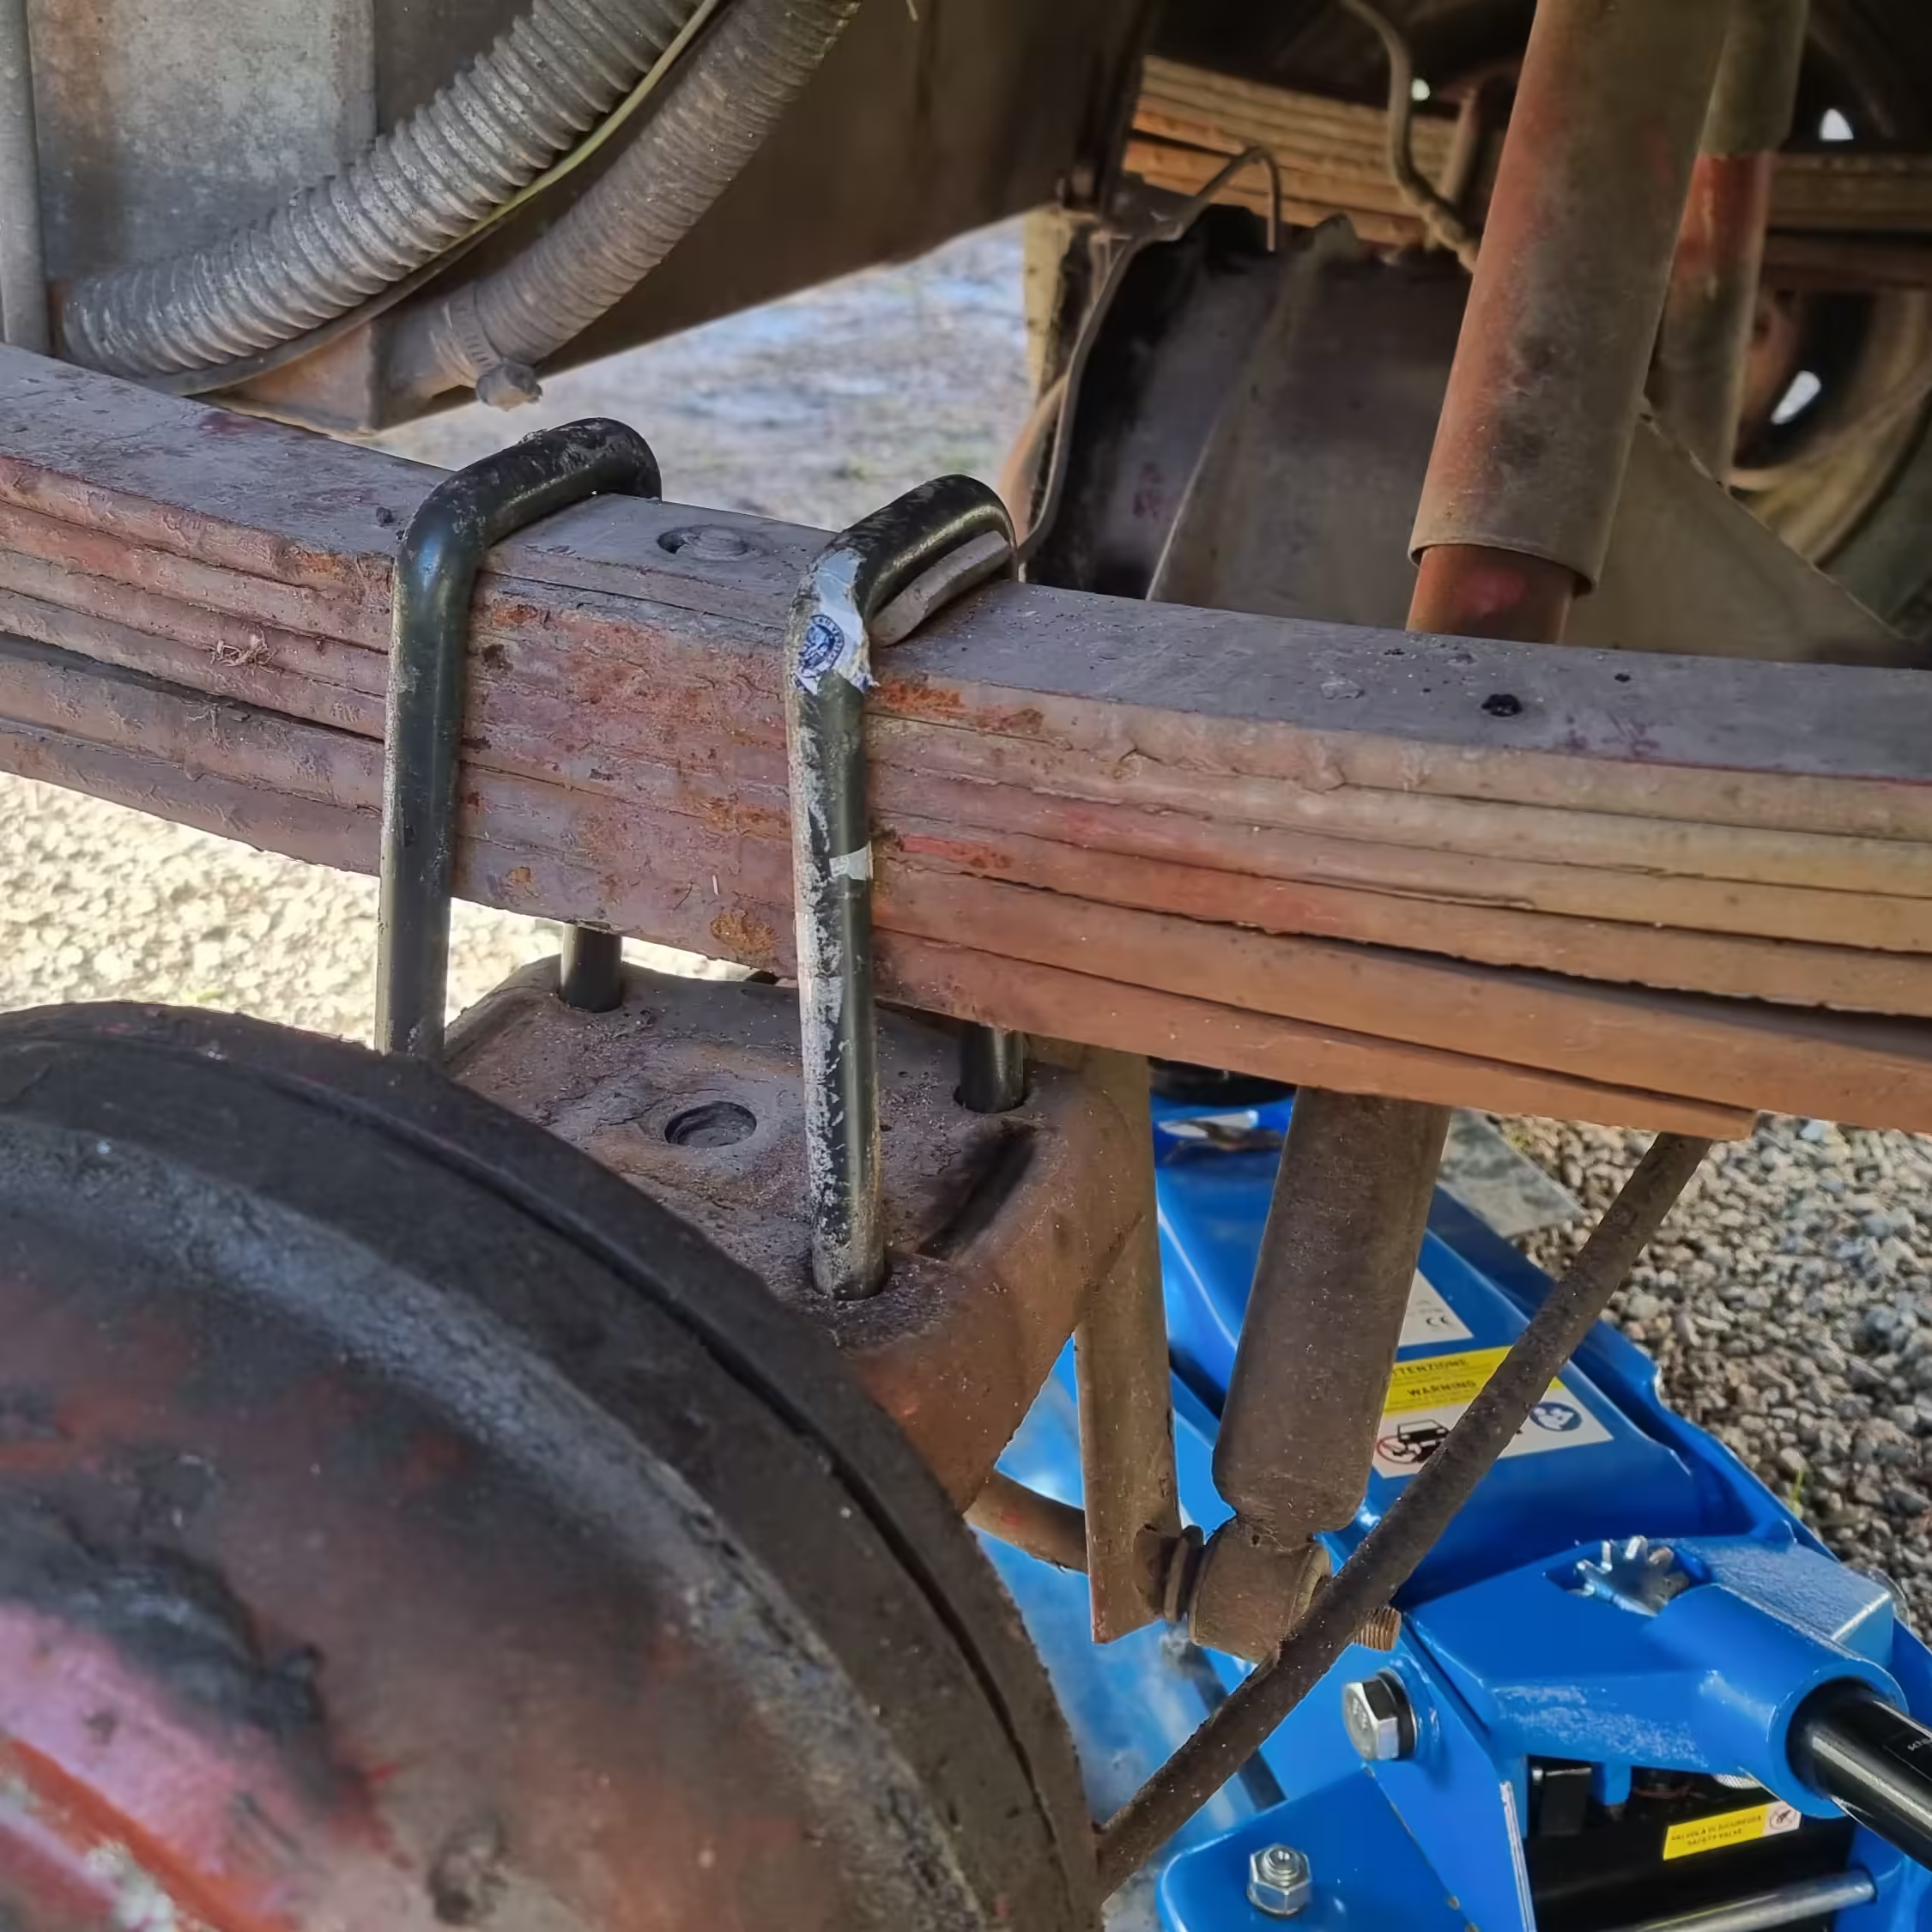 Image 12
 - Inserting the Auxiliary Leaf Spring: Insert the auxiliary leaf spring with the iron spacer on top of it. You will need to temporarily remove one of the U-bolts for passage.
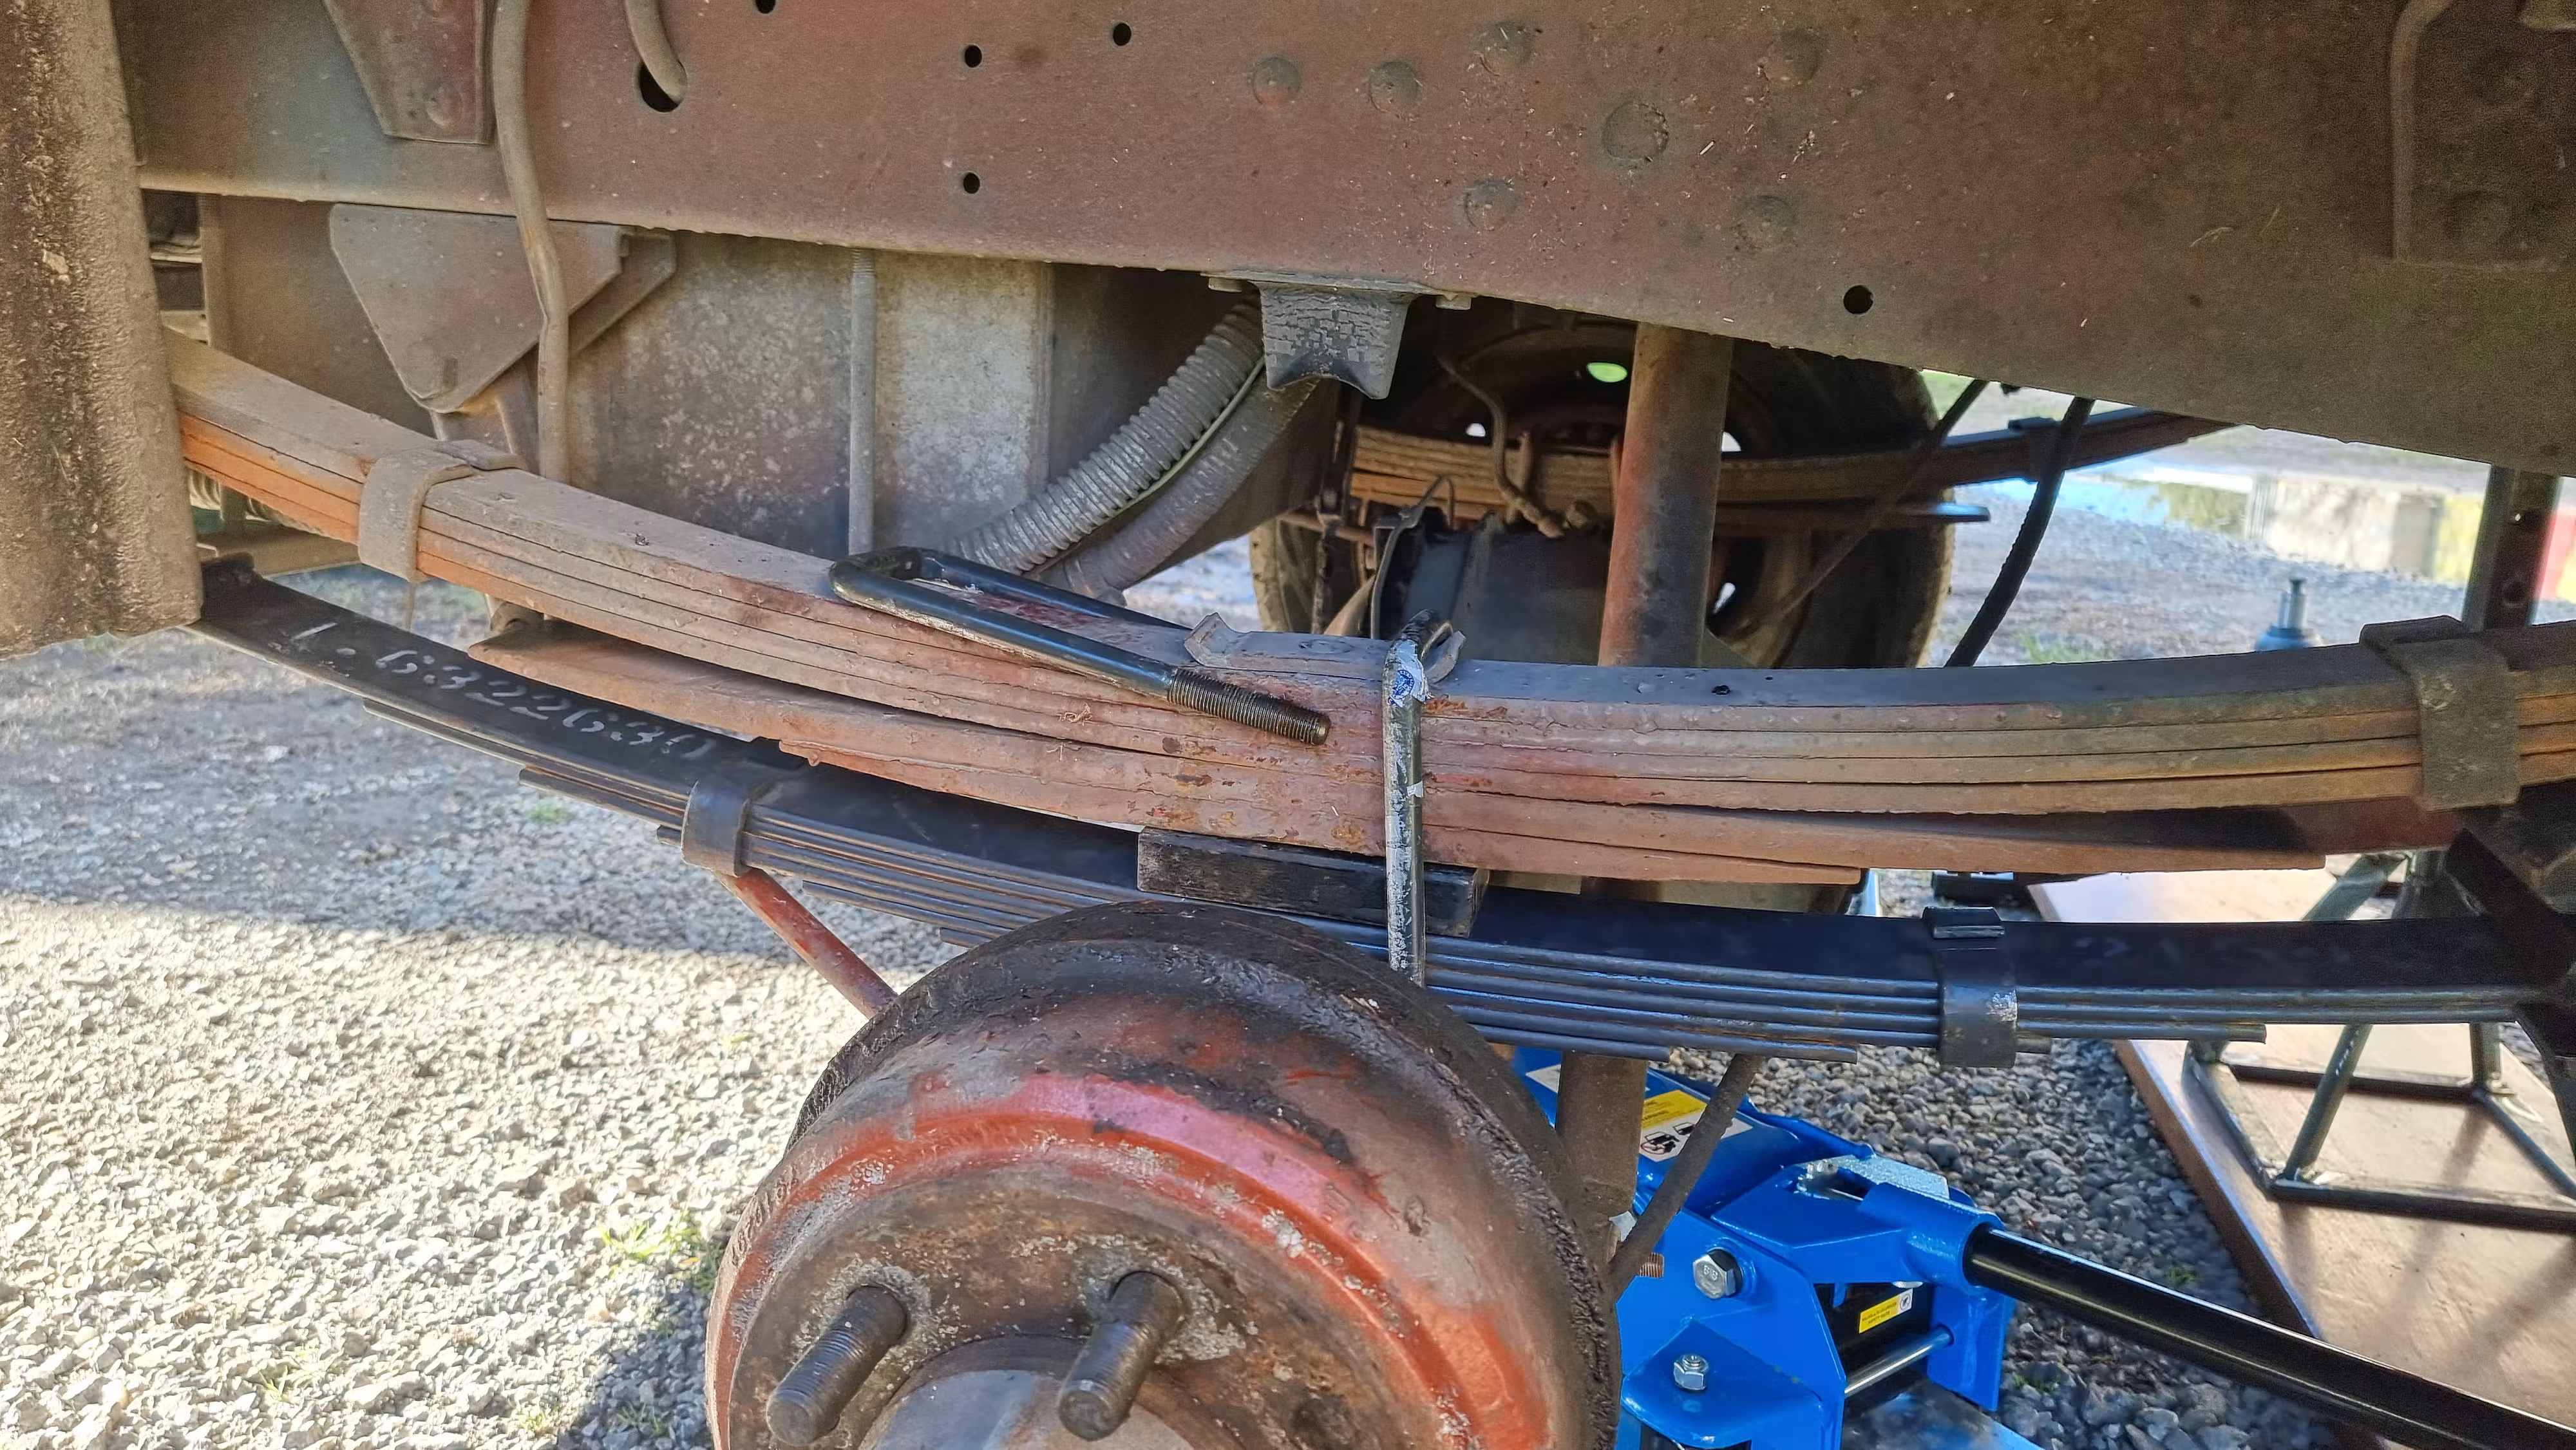 Image 13
 - Clearance Check: The auxiliary leaf spring will momentarily touch the rear anti-roll bar. This is not a problem; it will resolve itself when the vehicle is back on the ground.
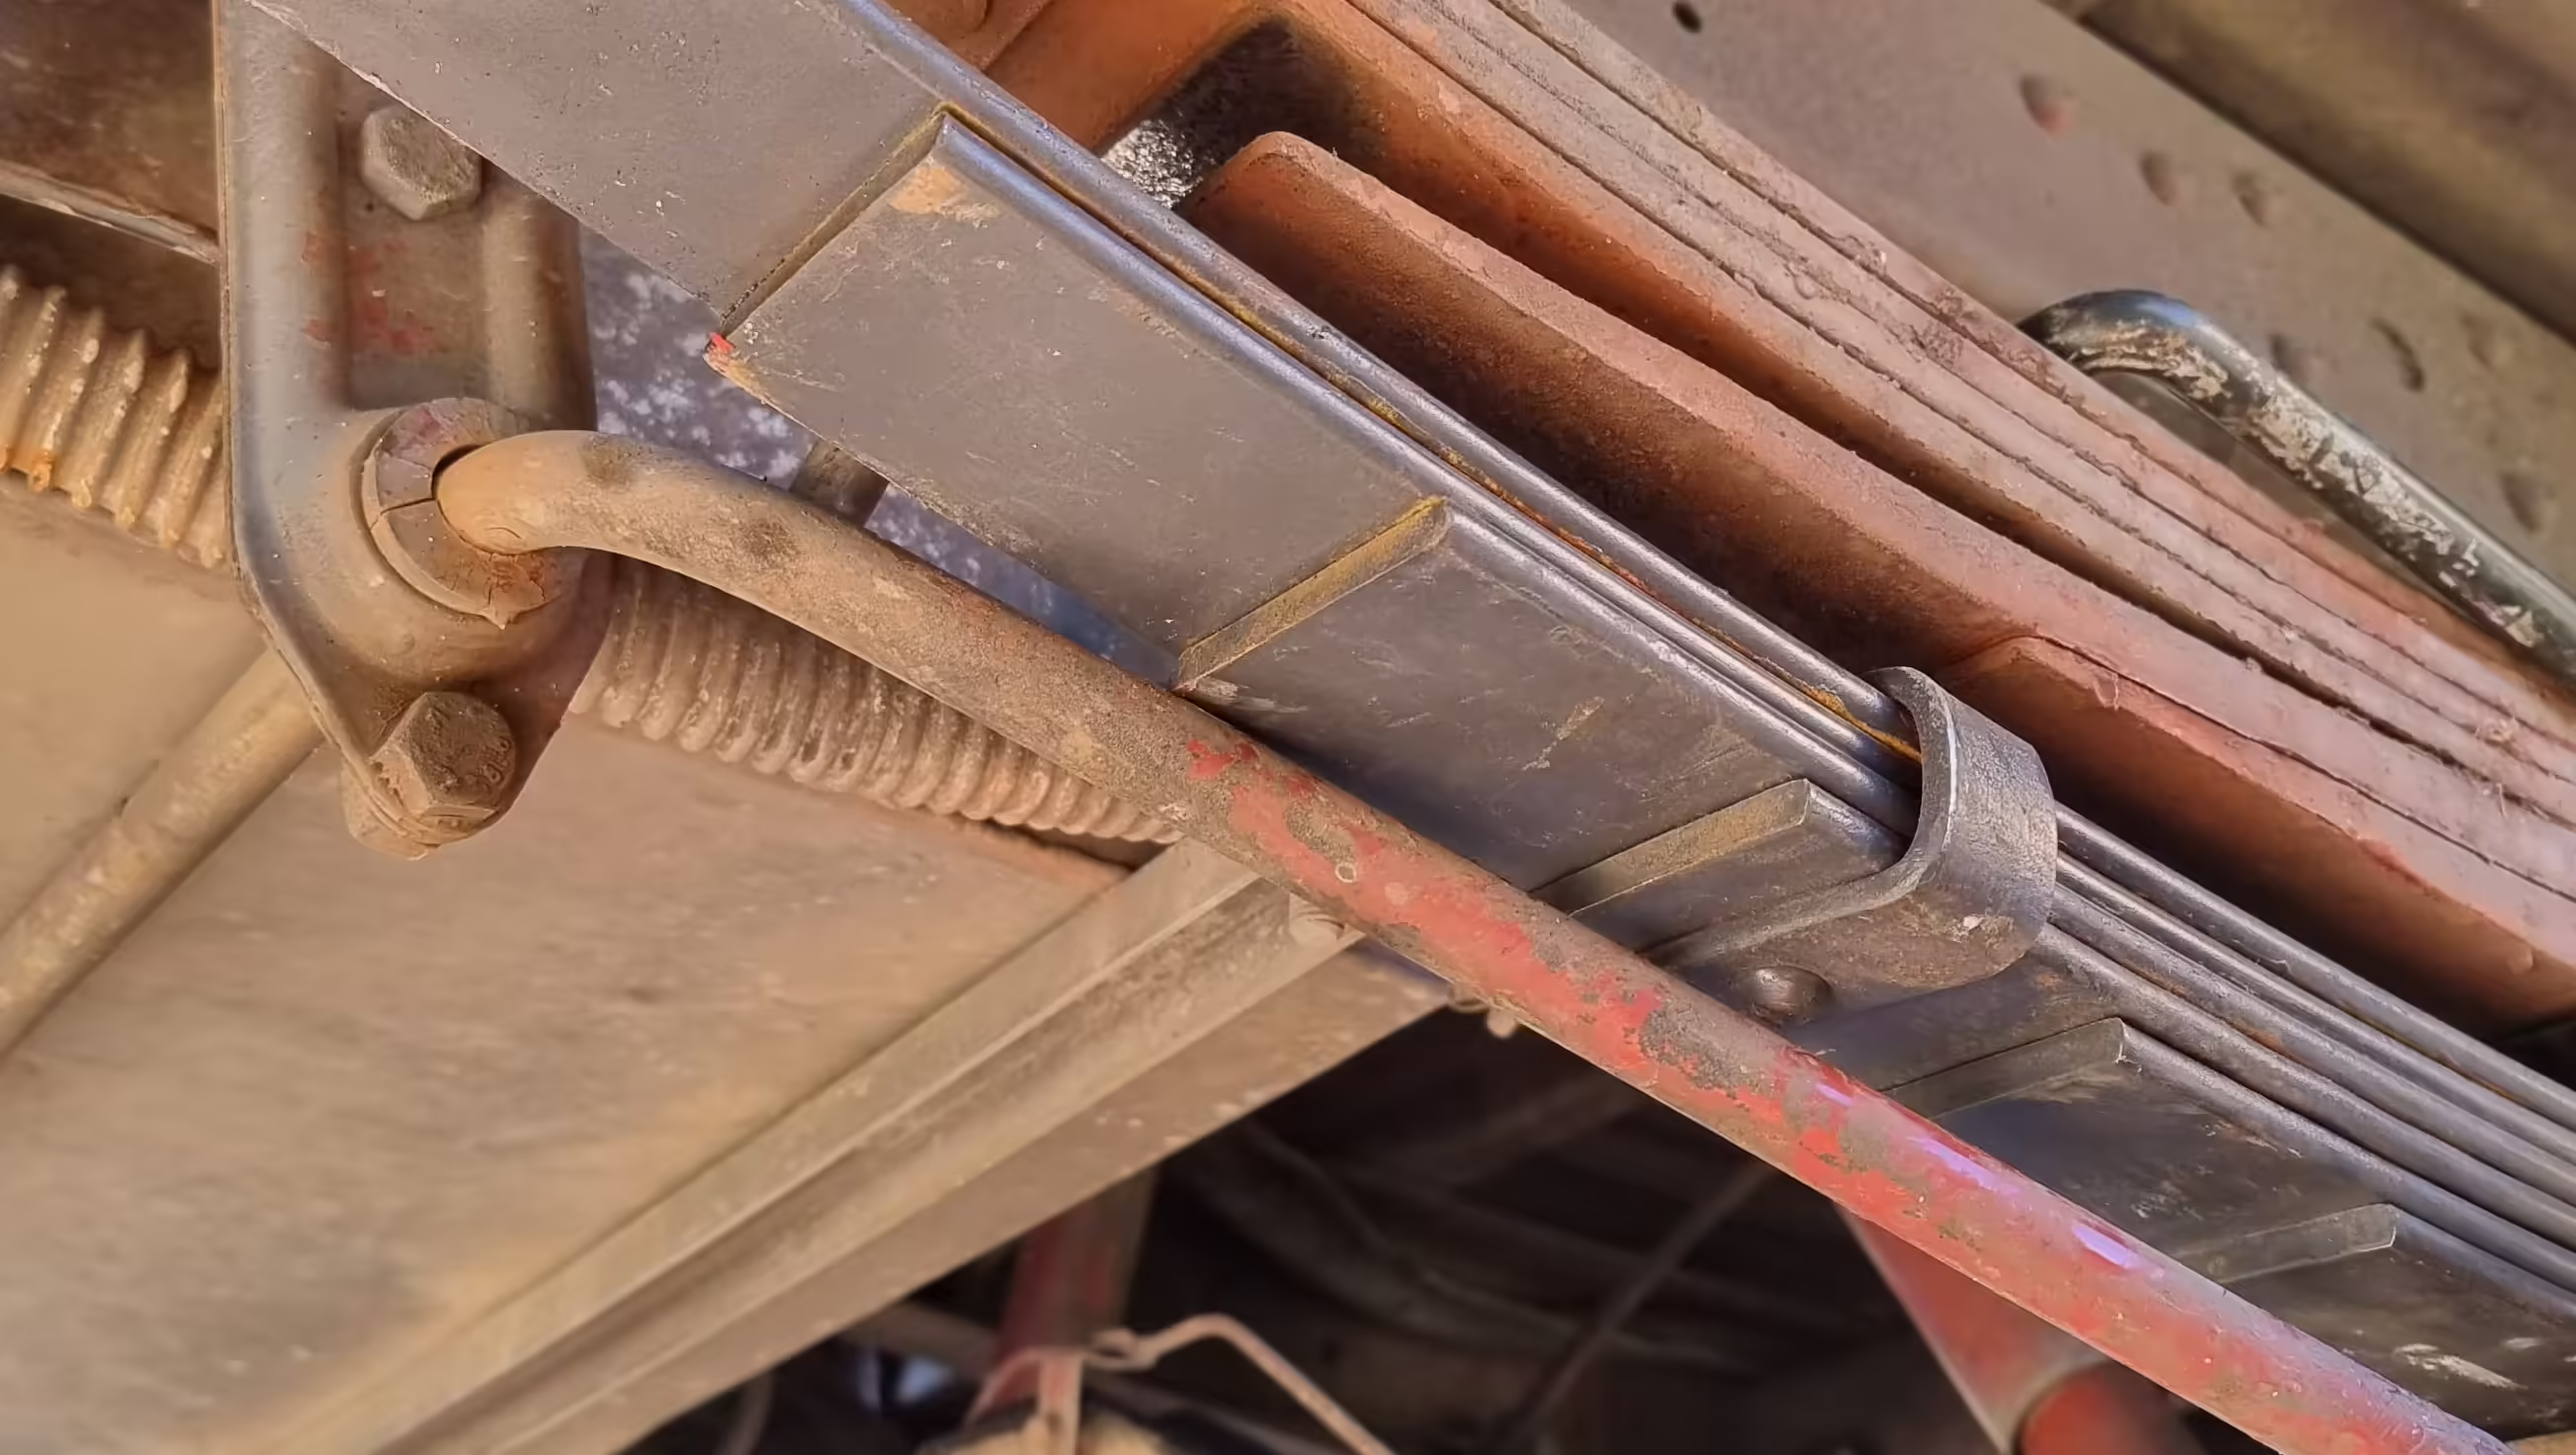 Image 14
 - Final Fastening: Position the modified brackets and tighten everything before moving to the other side of the vehicle.
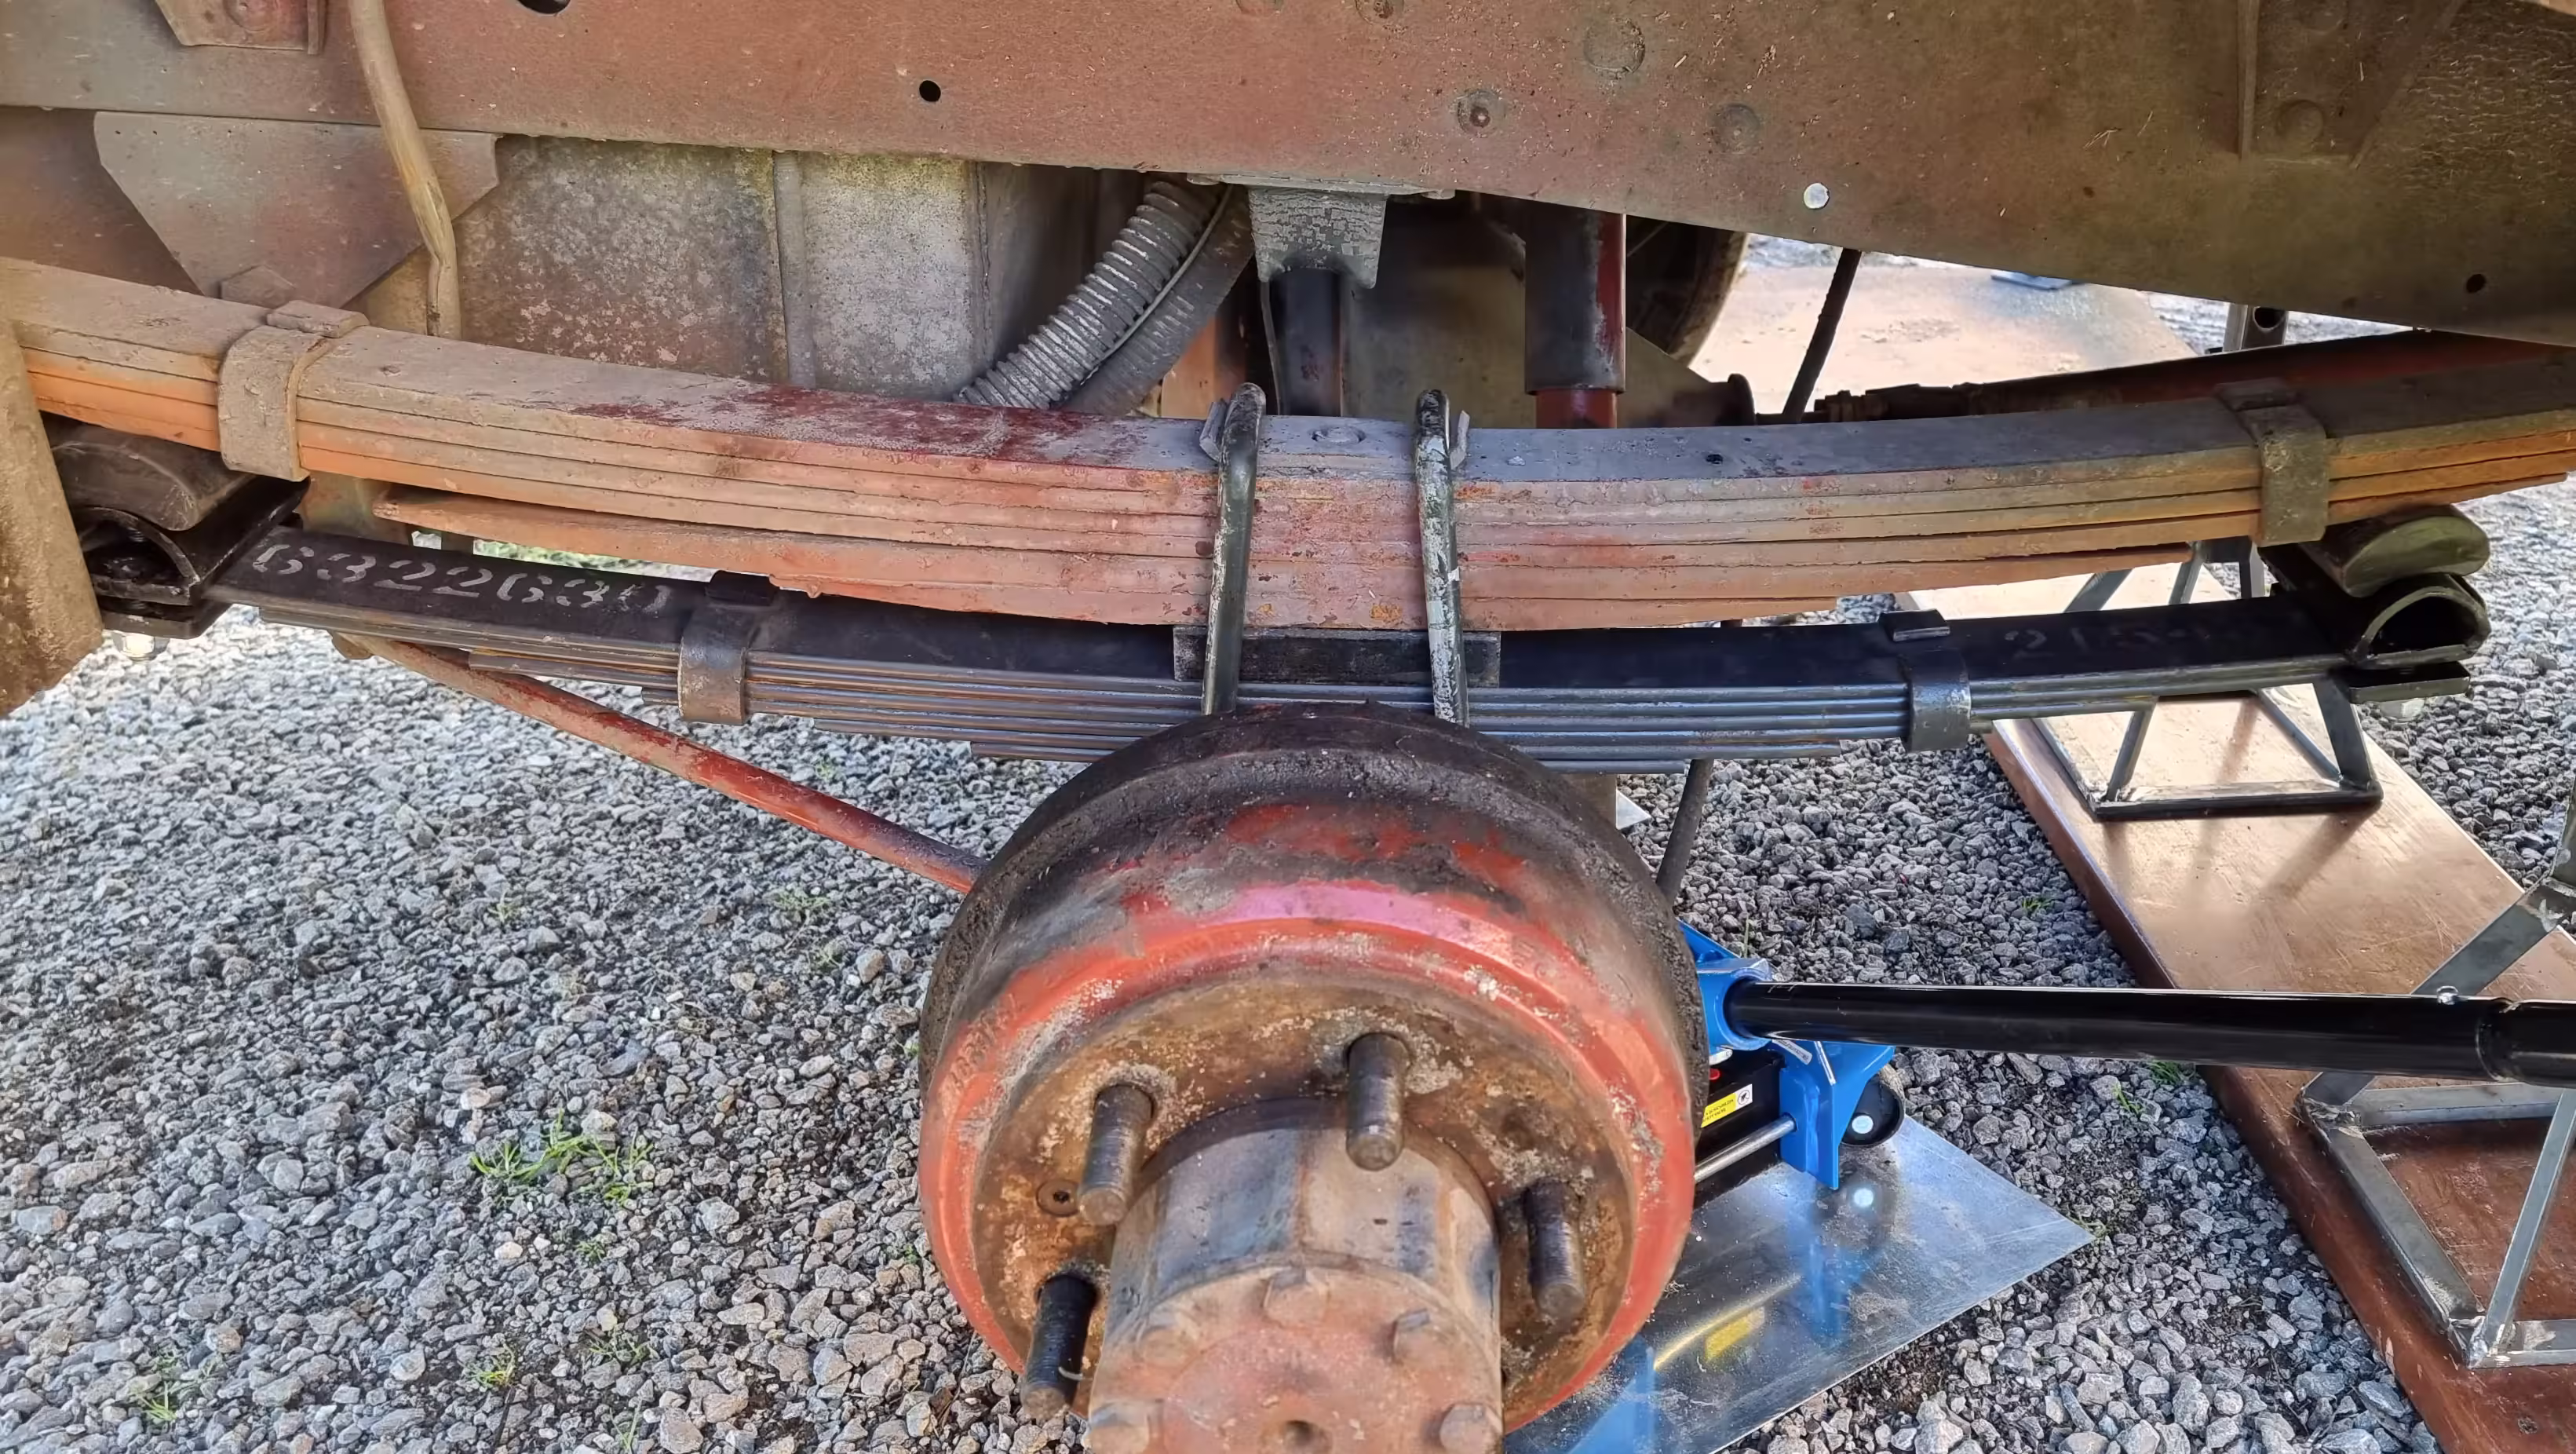 Image 15
Additional Notes:
- Lateral Obstacles: If you have water tanks or other components near the side of the leaf springs, be prepared to remove or shorten them.
- Reinstalling Wheels: With the auxiliary springs mounted, the rear axle will be closer to the ground. You will need to raise the vehicle further with the jack to reinstall the wheels.